
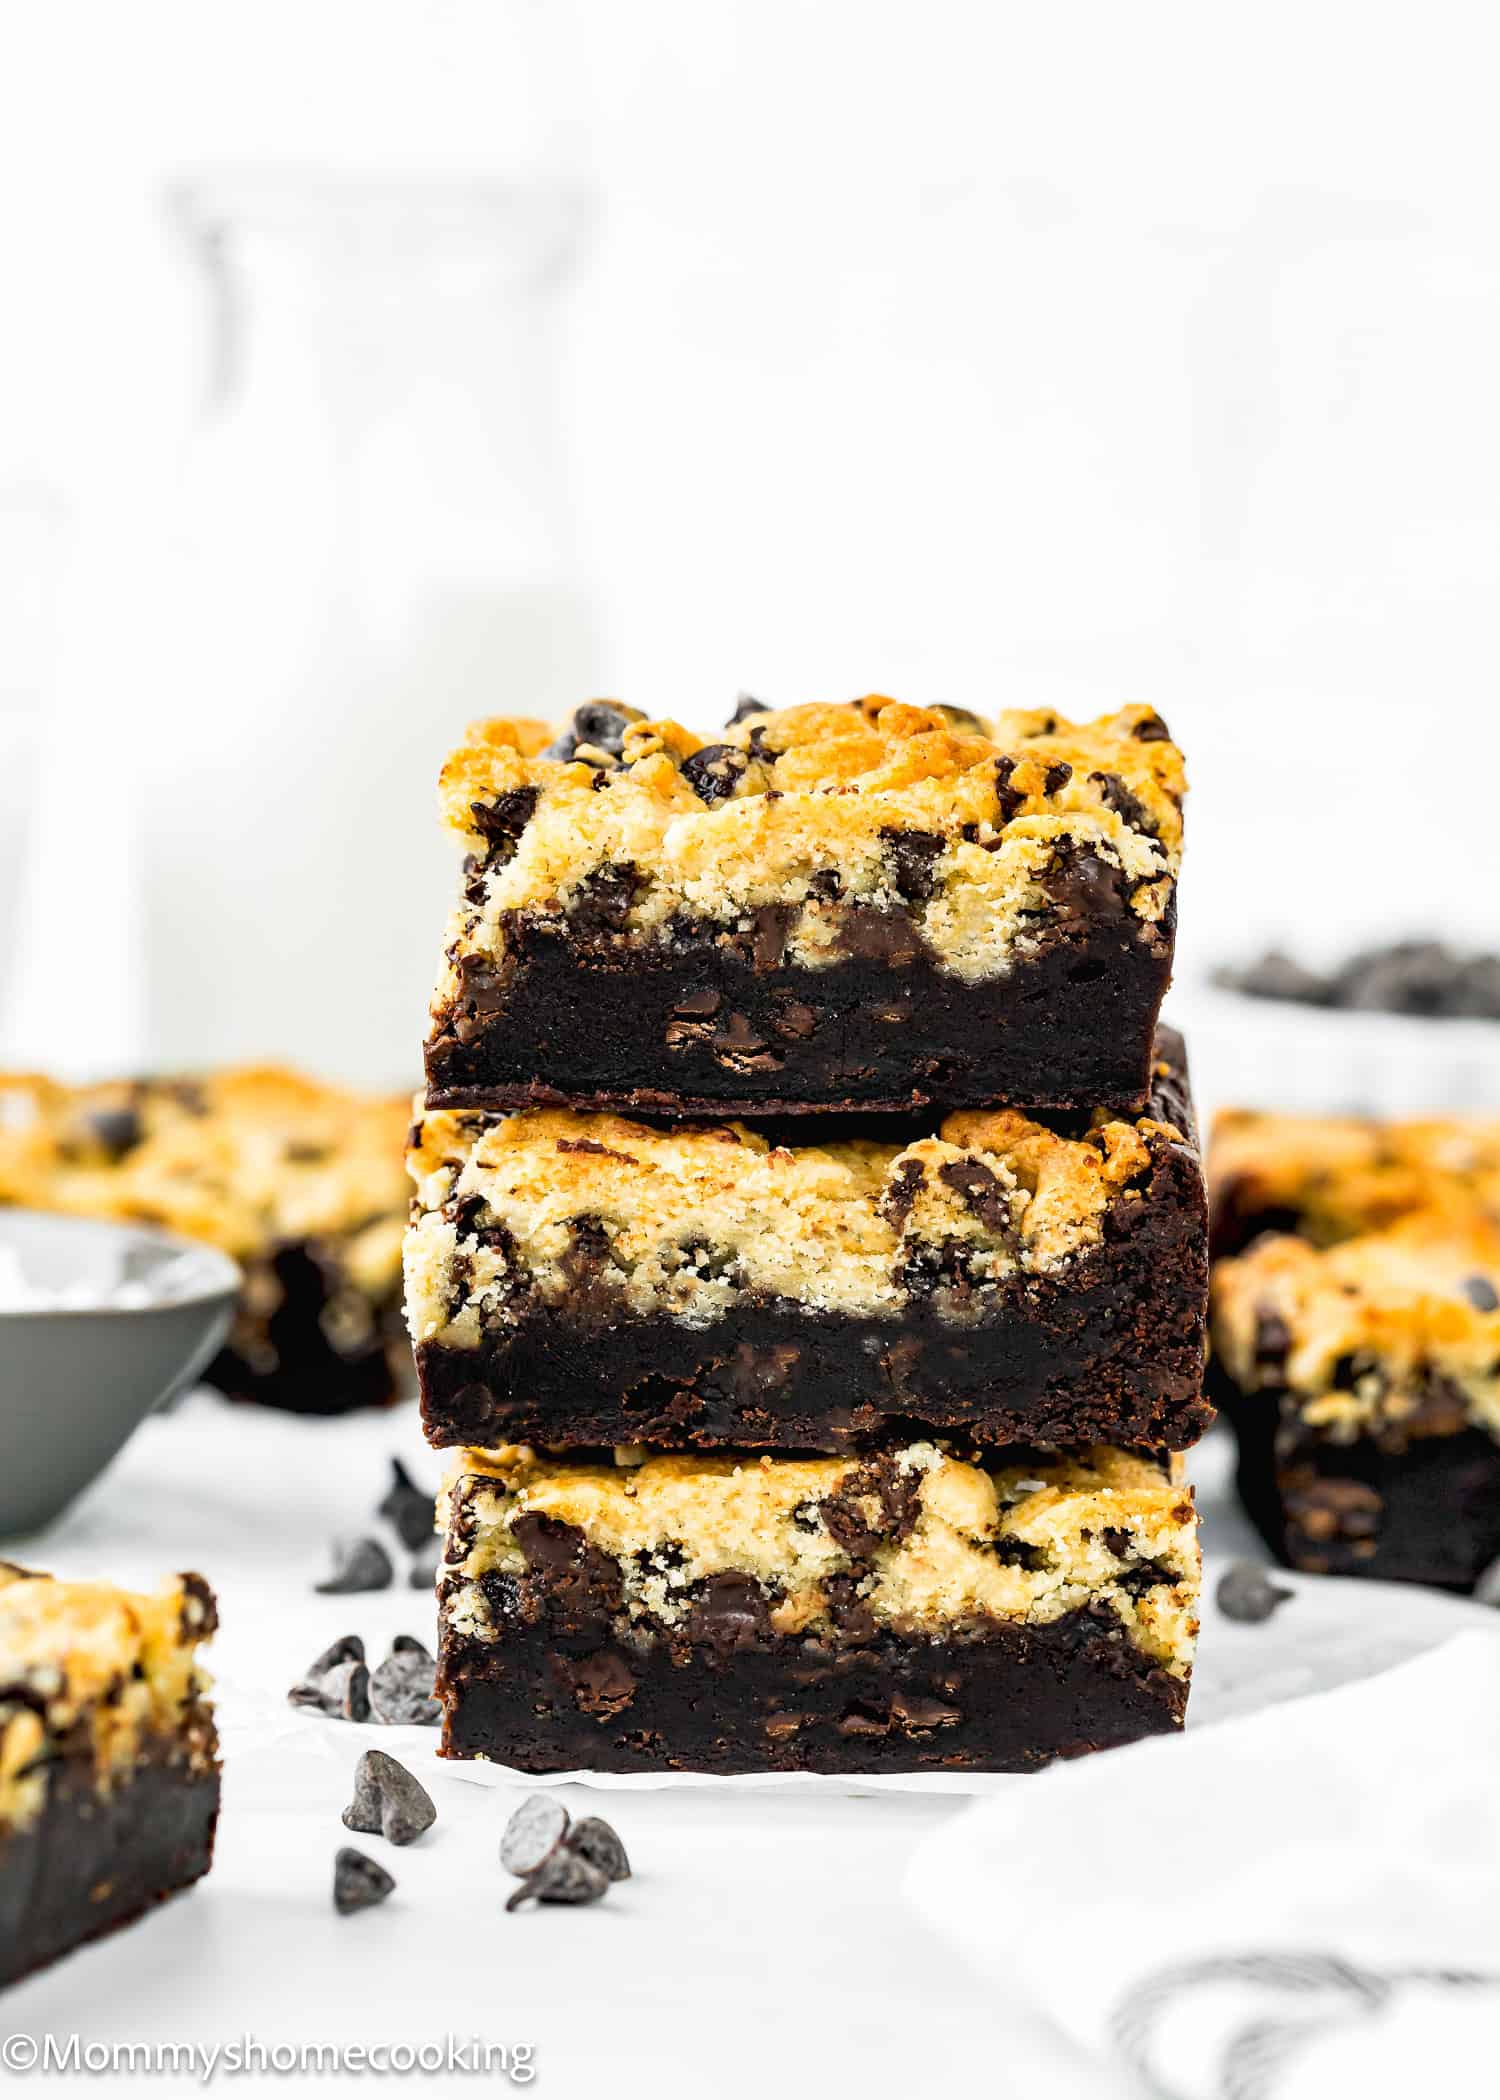
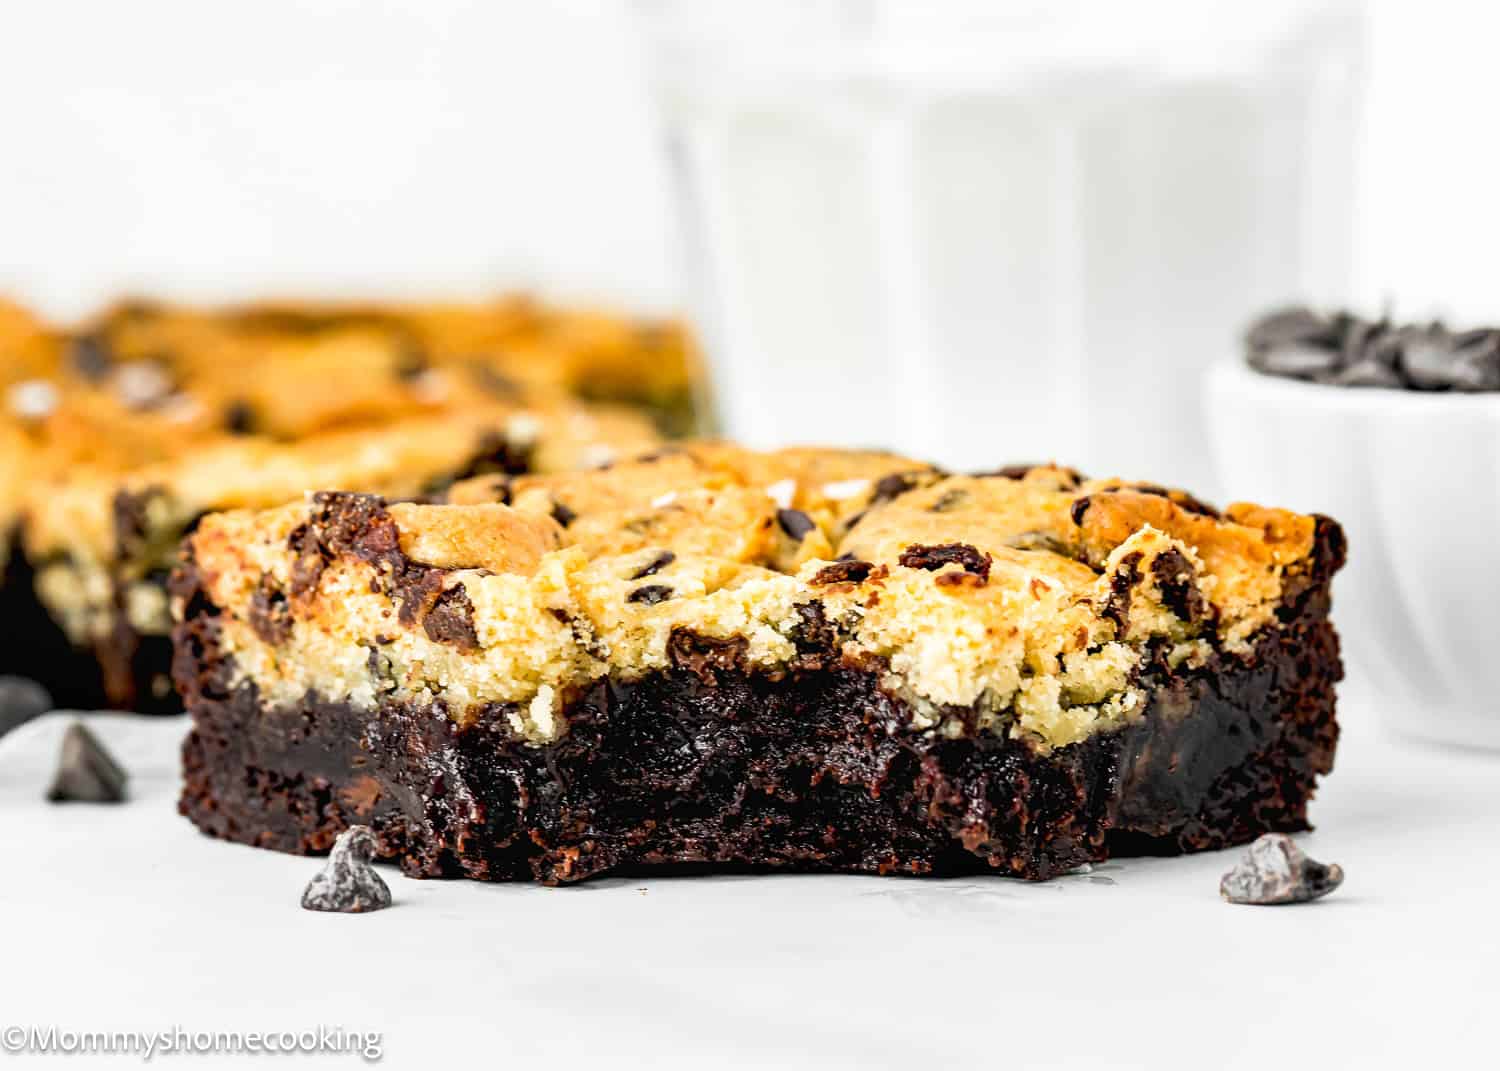
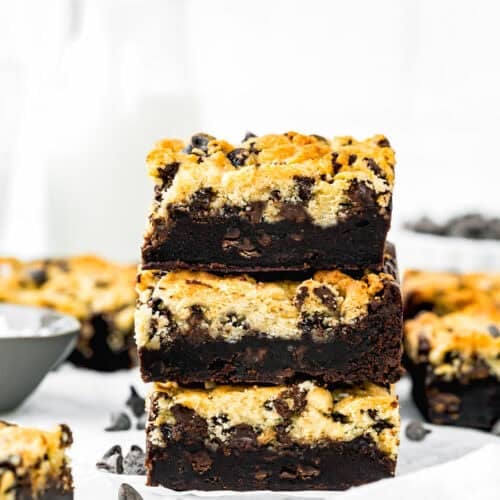
These Eggless Brookies are the best of both worlds in every single bite—decadent, fudgy brownies swirled together with chewy, chocolatey cookies. What’s even better is how simple they are to make. You don’t need anything fancy, just some basic pantry ingredients you probably already have on hand. Trust me, once you take a bite, you’ll be hooked. You have to try it!
Oriana’s Thoughts On The Recipe

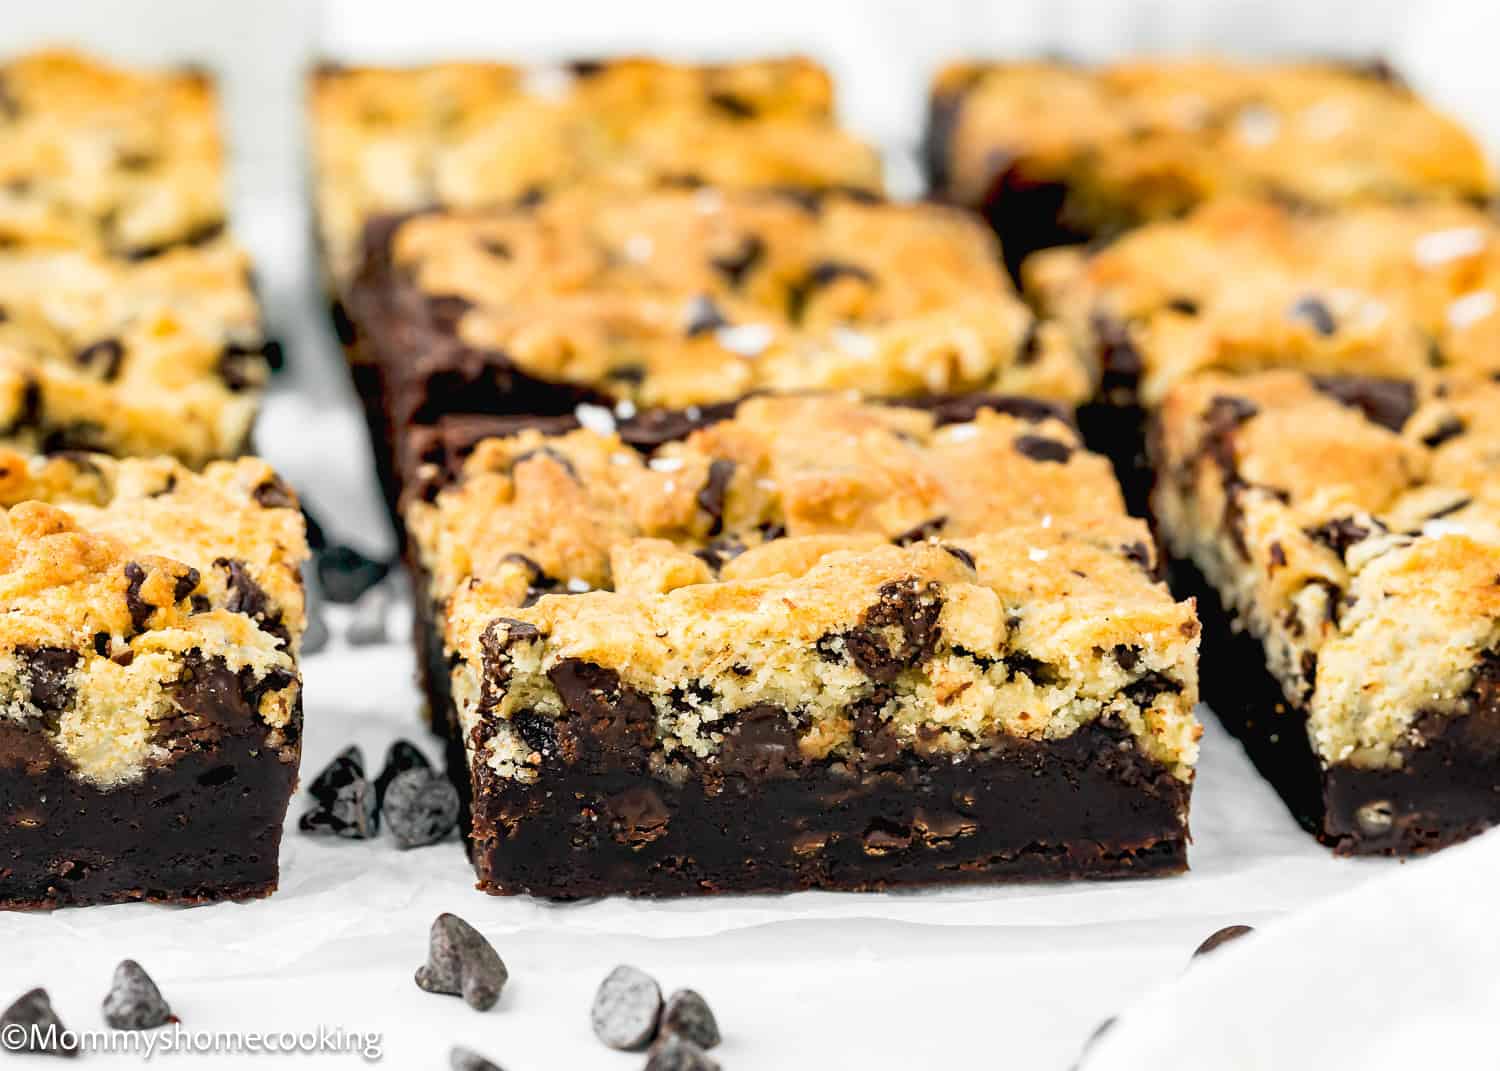
If you’re like me and can never decide between a brownie and a chocolate chip cookie, these eggless brookies are the answer! They’re the perfect mash-up of two of my favorite treats—one side rich, fudgy, and chocolaty like a brownie, and the other soft, chewy, and loaded with chocolate chips like a classic cookie. Every bite gives you the best of both worlds!
What I Love About This Recipe

Ingredients You’ll Need, Substitutions & Notes
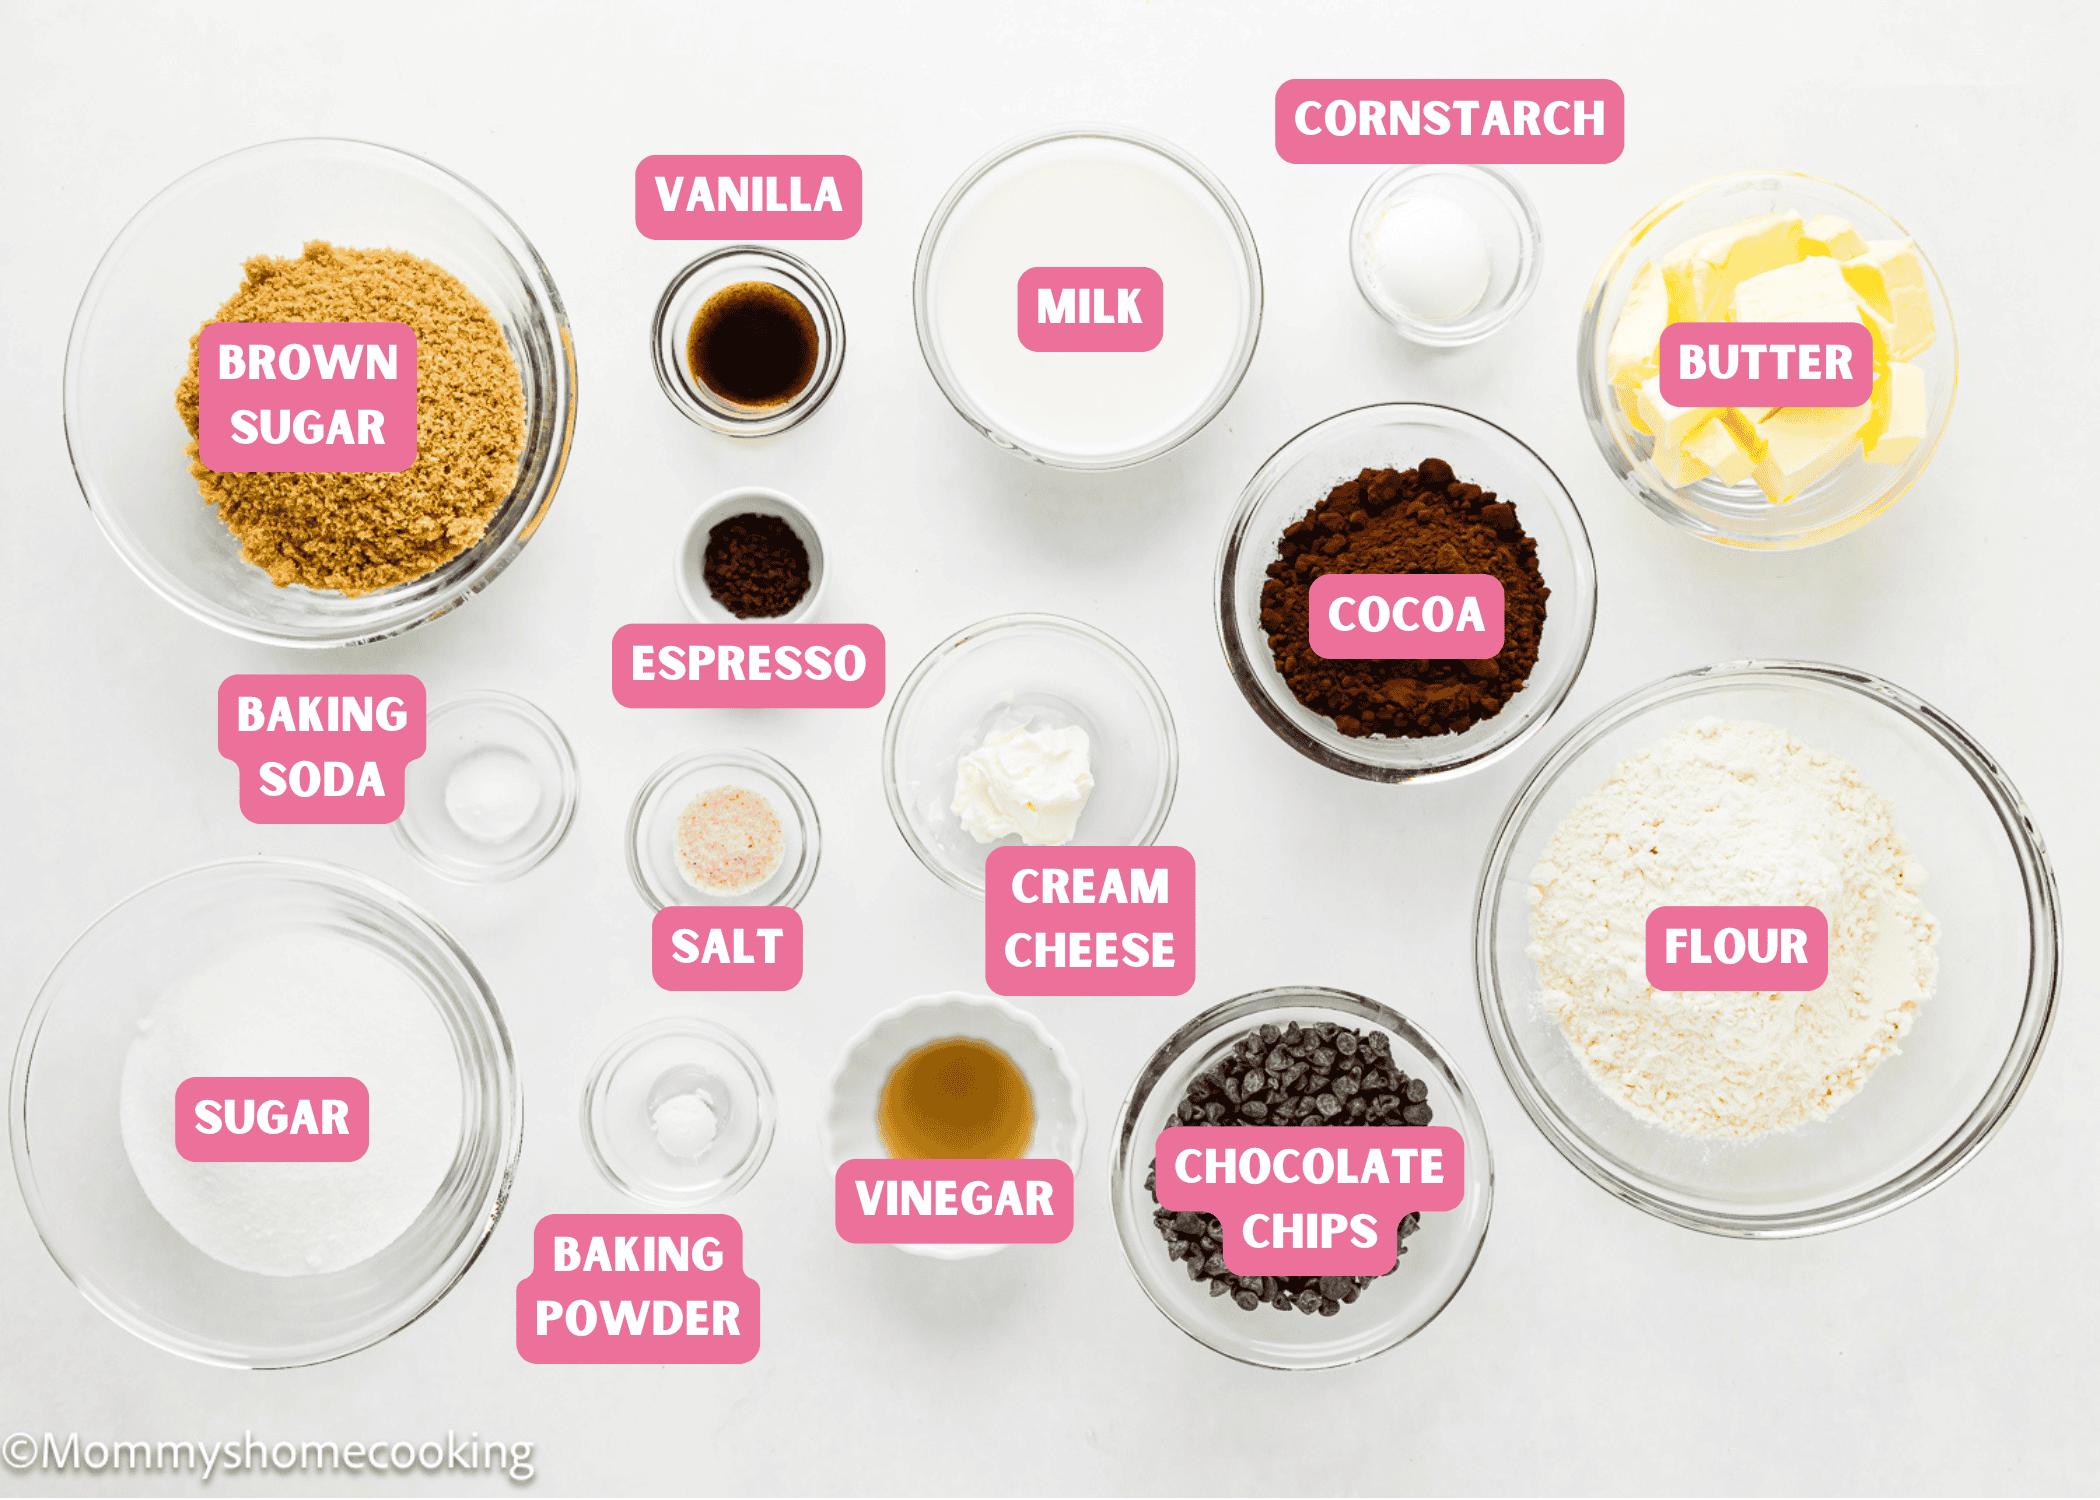
Please check the recipe card at the bottom of the post for exact quantities and detailed instructions (scroll down).
For the Brownie Layer:
- All-Purpose Flour – Gives the brownies structure.
- Cornstarch – Helps create a soft, chewy texture.
- Baking Powder – Adds a little lift to the brownies.
- Salt – Balances the sweetness.
- Milk + Apple Cider Vinegar – Acts as an egg replacement, making the brownies soft and moist.
- Butter – Adds richness.
- Brown Sugar & Granulated Sugar – The mix of both creates the perfect balance of sweetness and chewiness.
- Instant Espresso Powder (Optional) – Enhances the chocolate flavor.
- Cocoa Powder – The star of the brownie layer!
- Vanilla Extract – Rounds out the flavors.
- Chocolate Chips or Chunks – For extra pockets of melted chocolate goodness.
For the Cookie Layer:
- All-Purpose Flour – Provides structure.
- Baking Powder & Baking Soda – Help the cookies rise and spread properly.
- Salt – Enhances flavor.
- Butter – For that classic cookie taste.
- Granulated Sugar & Light Brown Sugar – The combination adds sweetness and chewiness.
- Cream Cheese – Adds richness and helps create a soft cookie texture.
- Chocolate Chips – Because more chocolate is always a good idea!
- Milk & Vanilla Extract – Adds moisture and flavor.
Food Allergy Swaps
- Dairy-Free: Butter: To make this recipe dairy-free, you can easily swap out the dairy ingredients for non-dairy alternatives. Instead of milk, you can use non-dairy milk like almond, soy, or oat milk. Substitute butter with dairy-free butter substitutes. Miyoko’s Creamery Organic Vegan Butter and Earth Balance Vegan Buttery Sticks are my favorite butter substitutes for baking. To substitute cream cheese, I like to use Violife Just Like Cream Cheese Original. Use plant-based butter and dairy-free chocolate chips, , here you can find the brands I mostly like and use.
- Gluten-Free: Use a gluten-free, all-purpose flour blend. Look for a gluten-free flour blend specifically formulated for baking, as it will have the right combination of flours and starches to mimic the texture of wheat flour. My favorite is Better Batter Original Blend. I also like Doves Farm Freee Gluten-Free All-Purpose Flour, but this blend does not contain xanthan gum, so you need to add 1/4 teaspoon of xanthan gum per cup (140 g) of gluten-free flour blend.
- Nut-Free: These are naturally nut-free, but always check your chocolate chips if allergies are a concern.
Potential Recipe Challenges & Pro Tips
- Overbaking: Since the brownie layer is fudgy and the cookie layer is chewy, it can be tricky to find the perfect bake time. Pro Tip: After removing the foil, start checking at the 15-minute mark—when the edges are set, and a toothpick comes out with a few moist crumbs, they’re ready.
Process Overview: Step-by-Step Photos
Please check the recipe card at the bottom of the post for exact quantities and detailed instructions (scroll down).
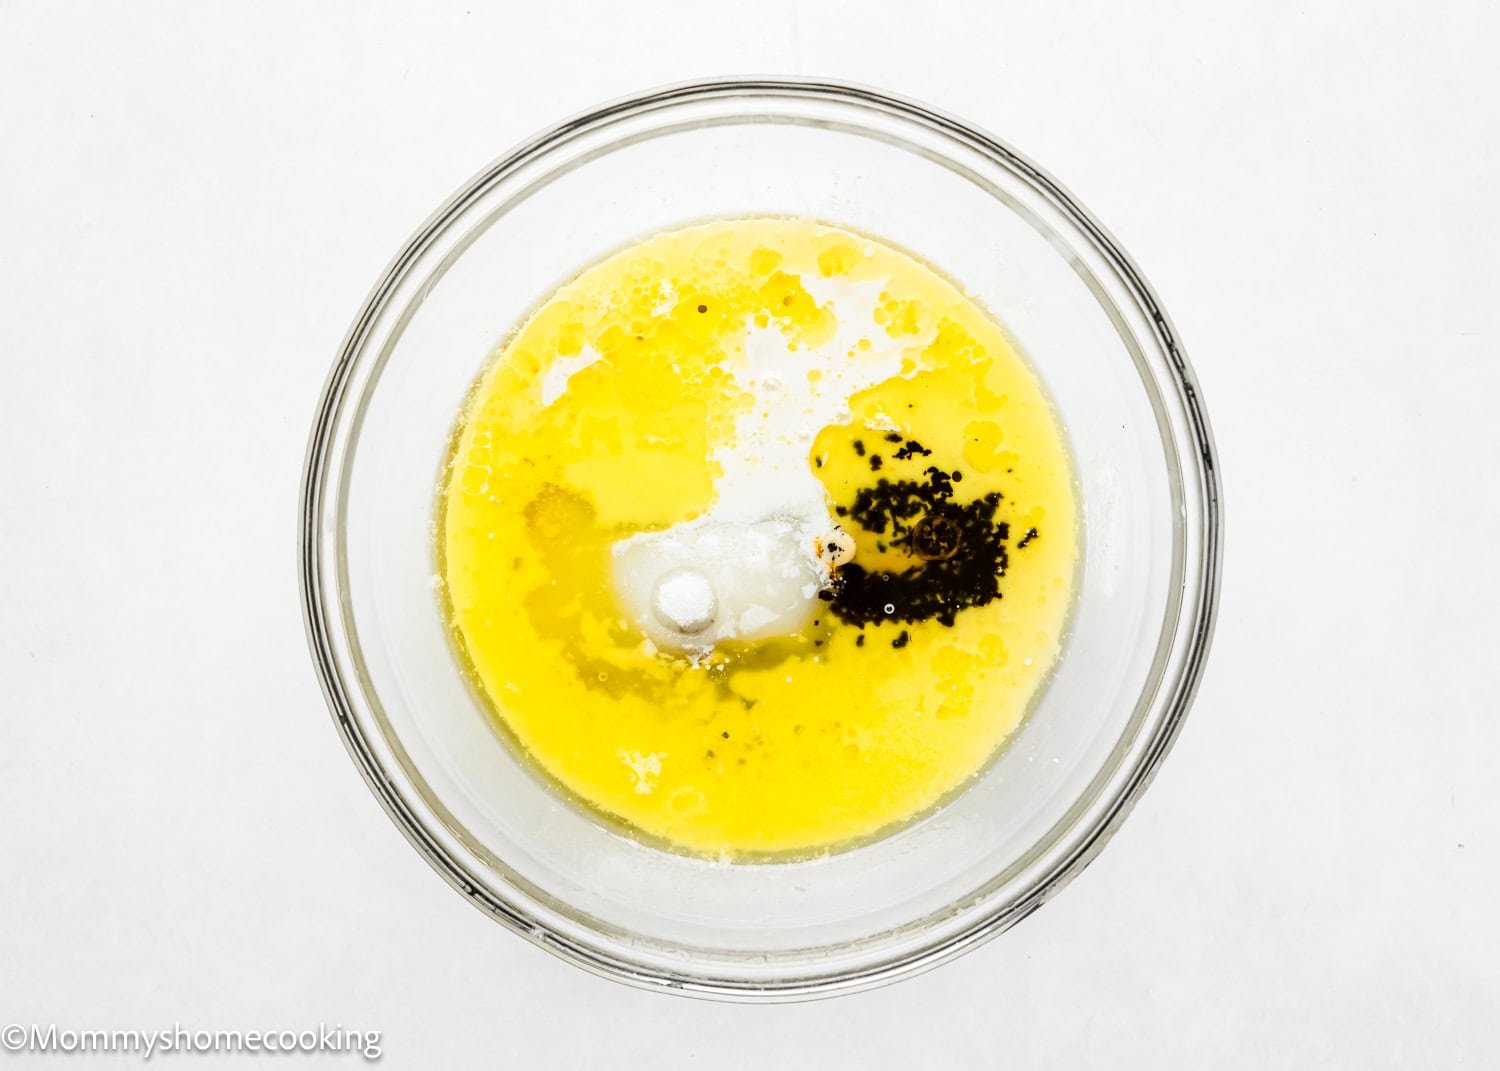
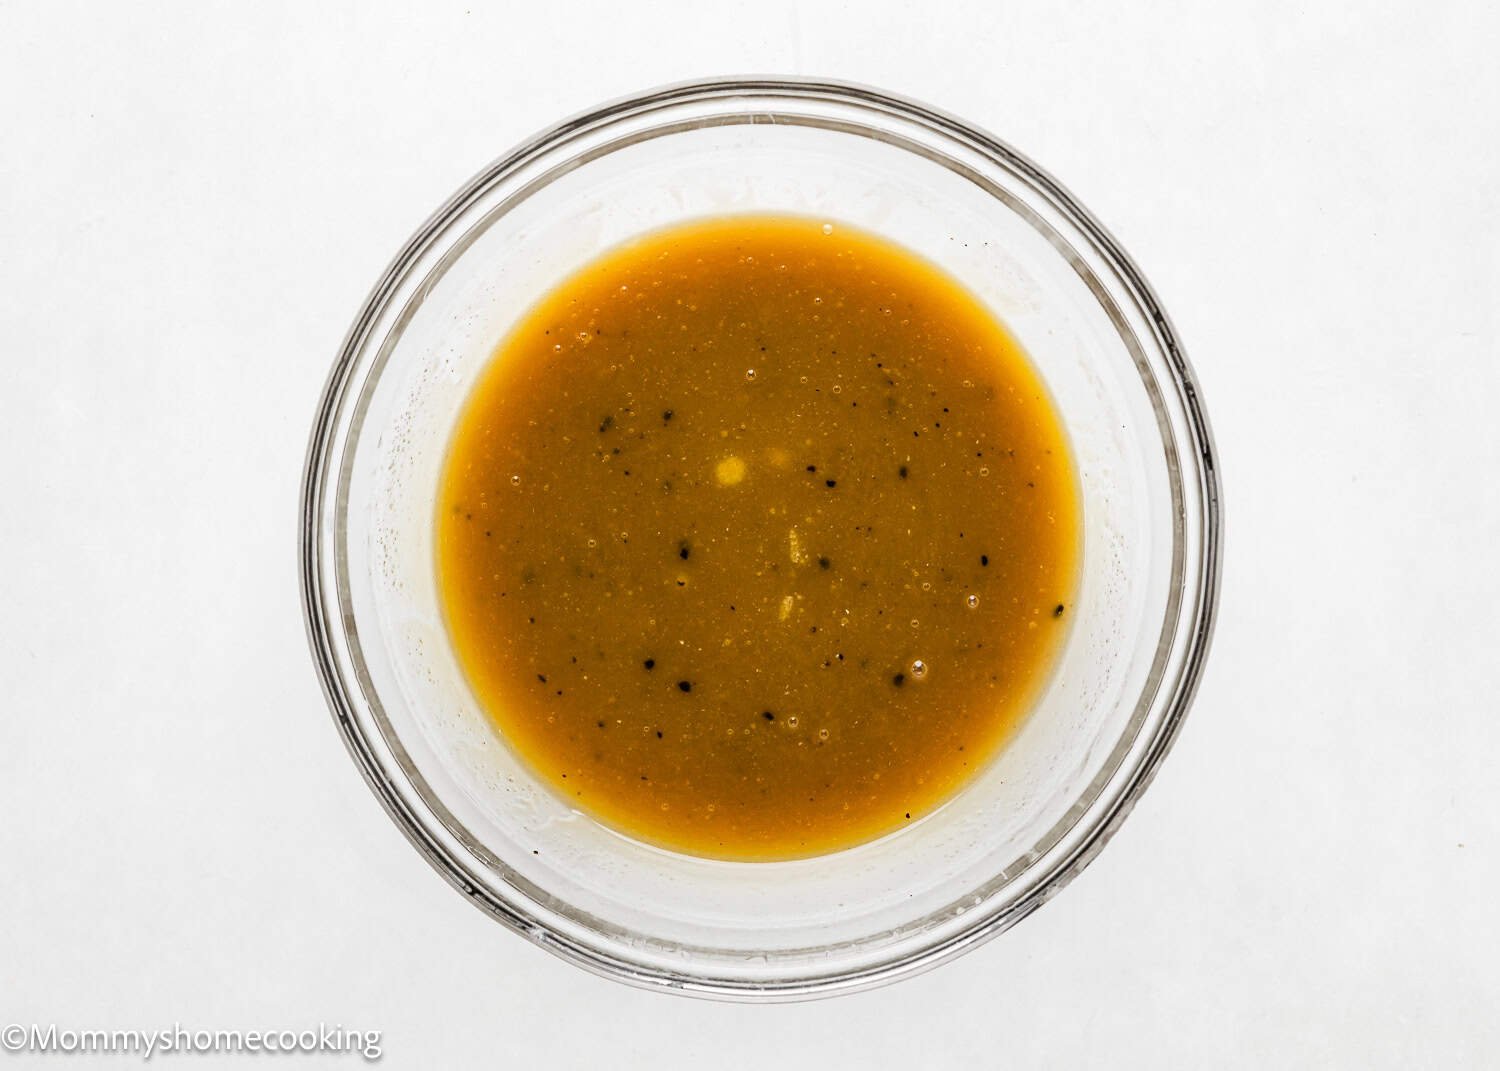
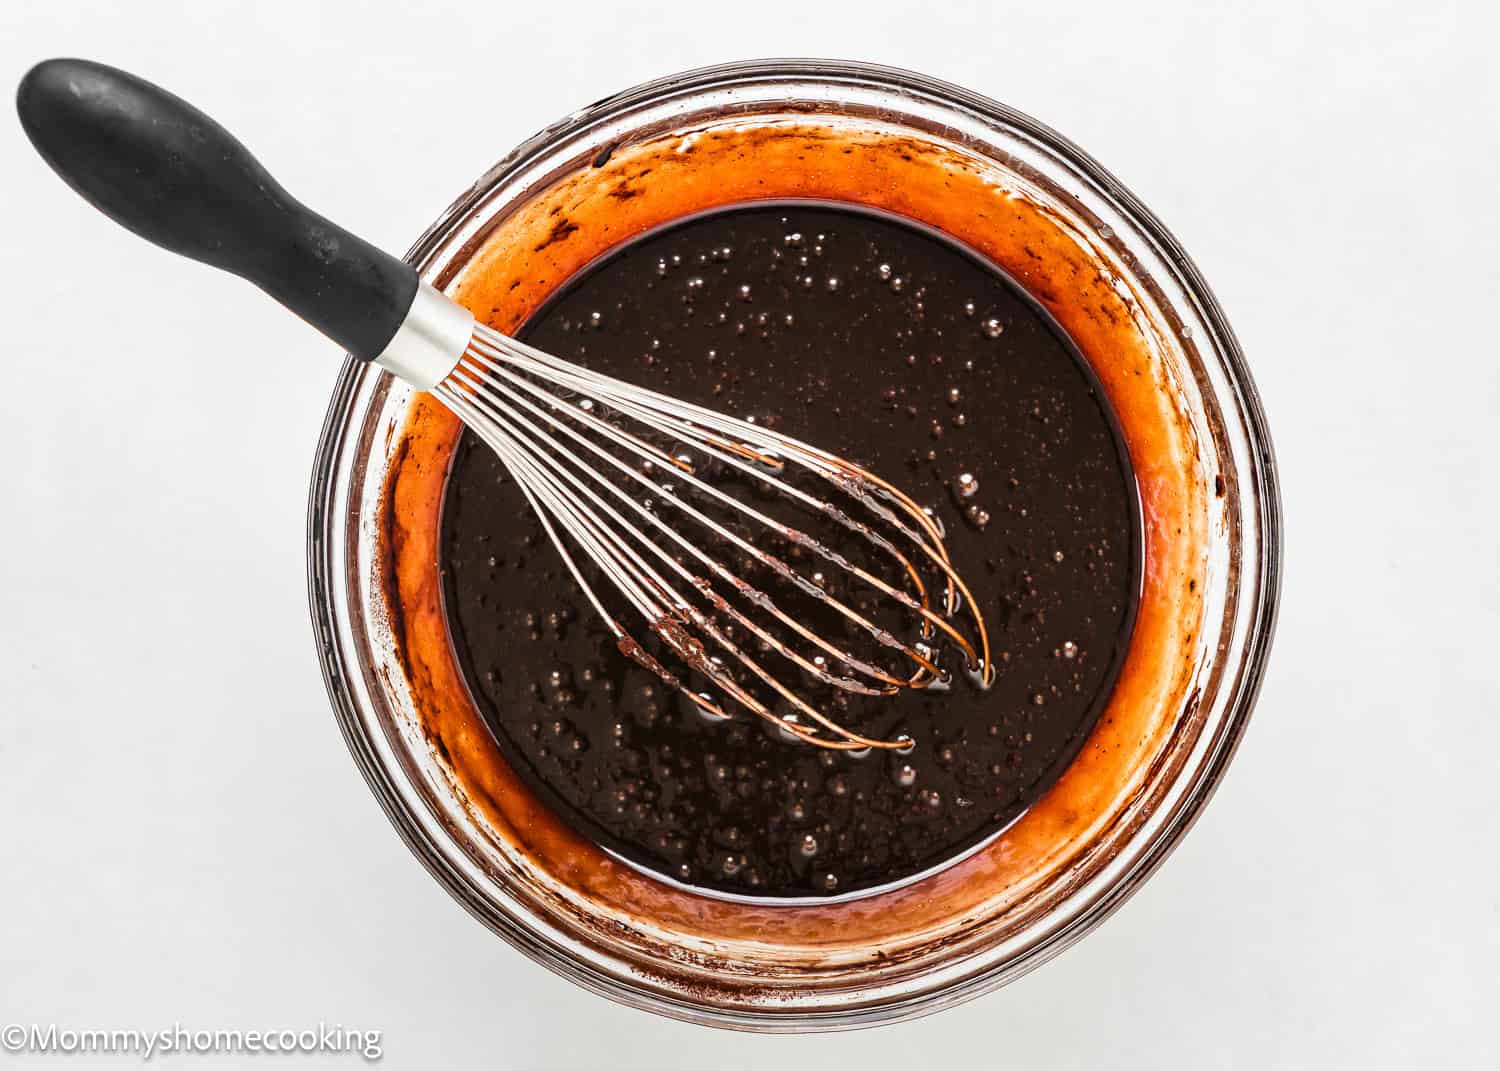
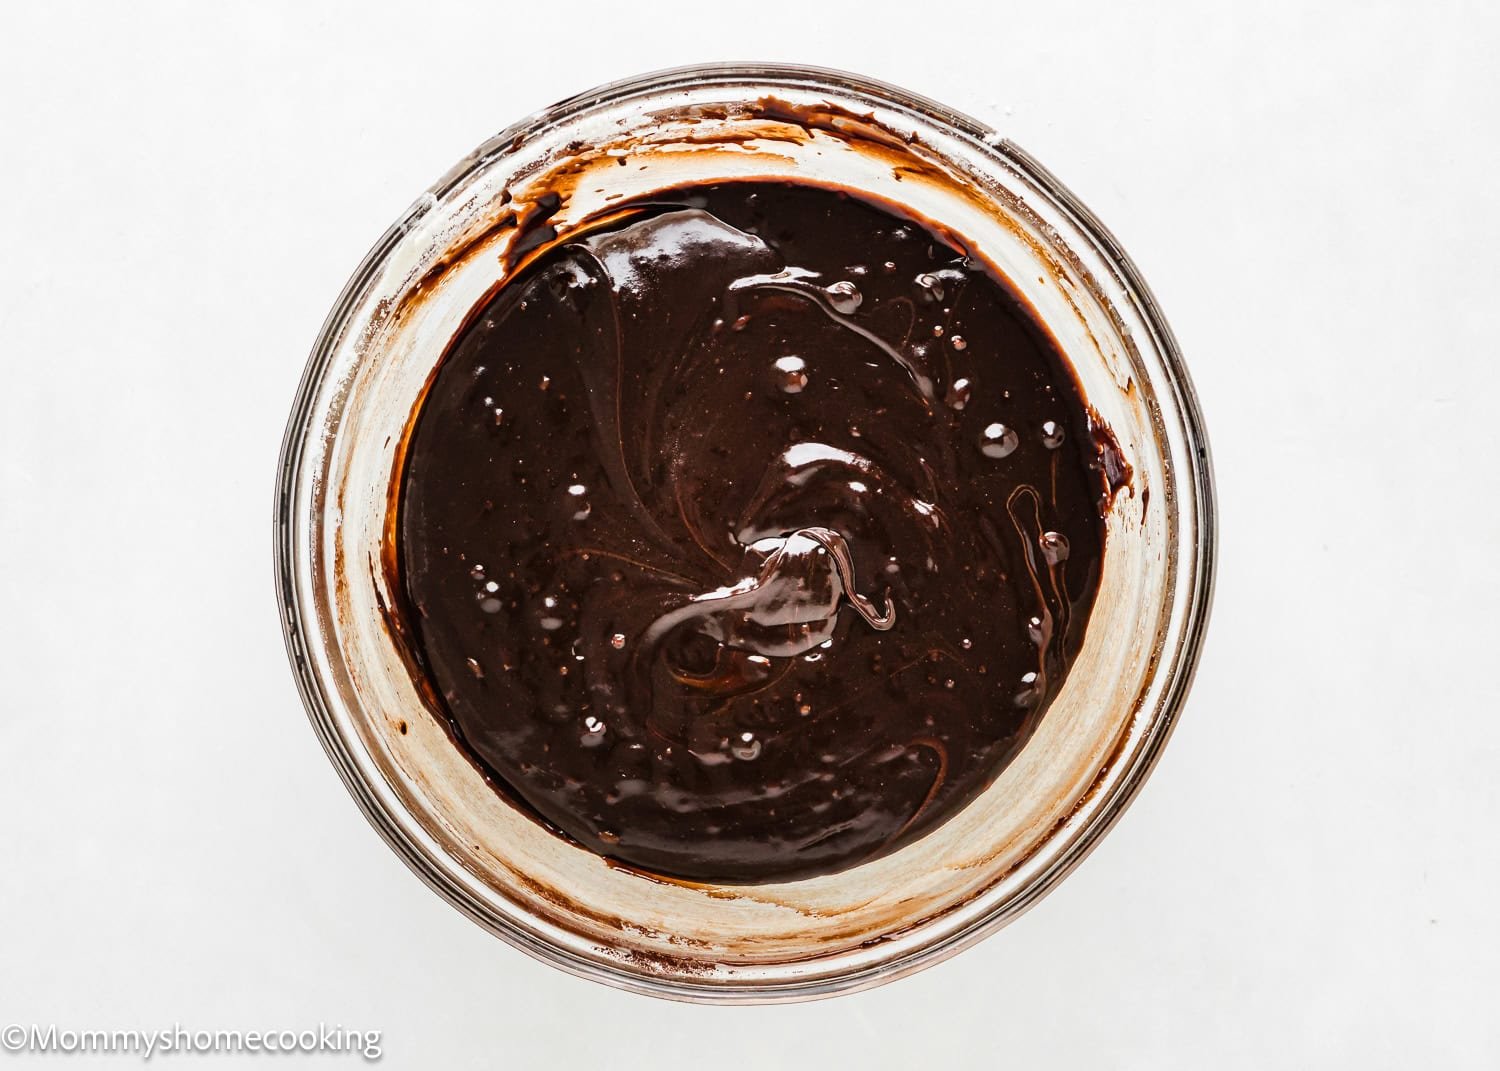
Step 1 – Make The Brownie Layer
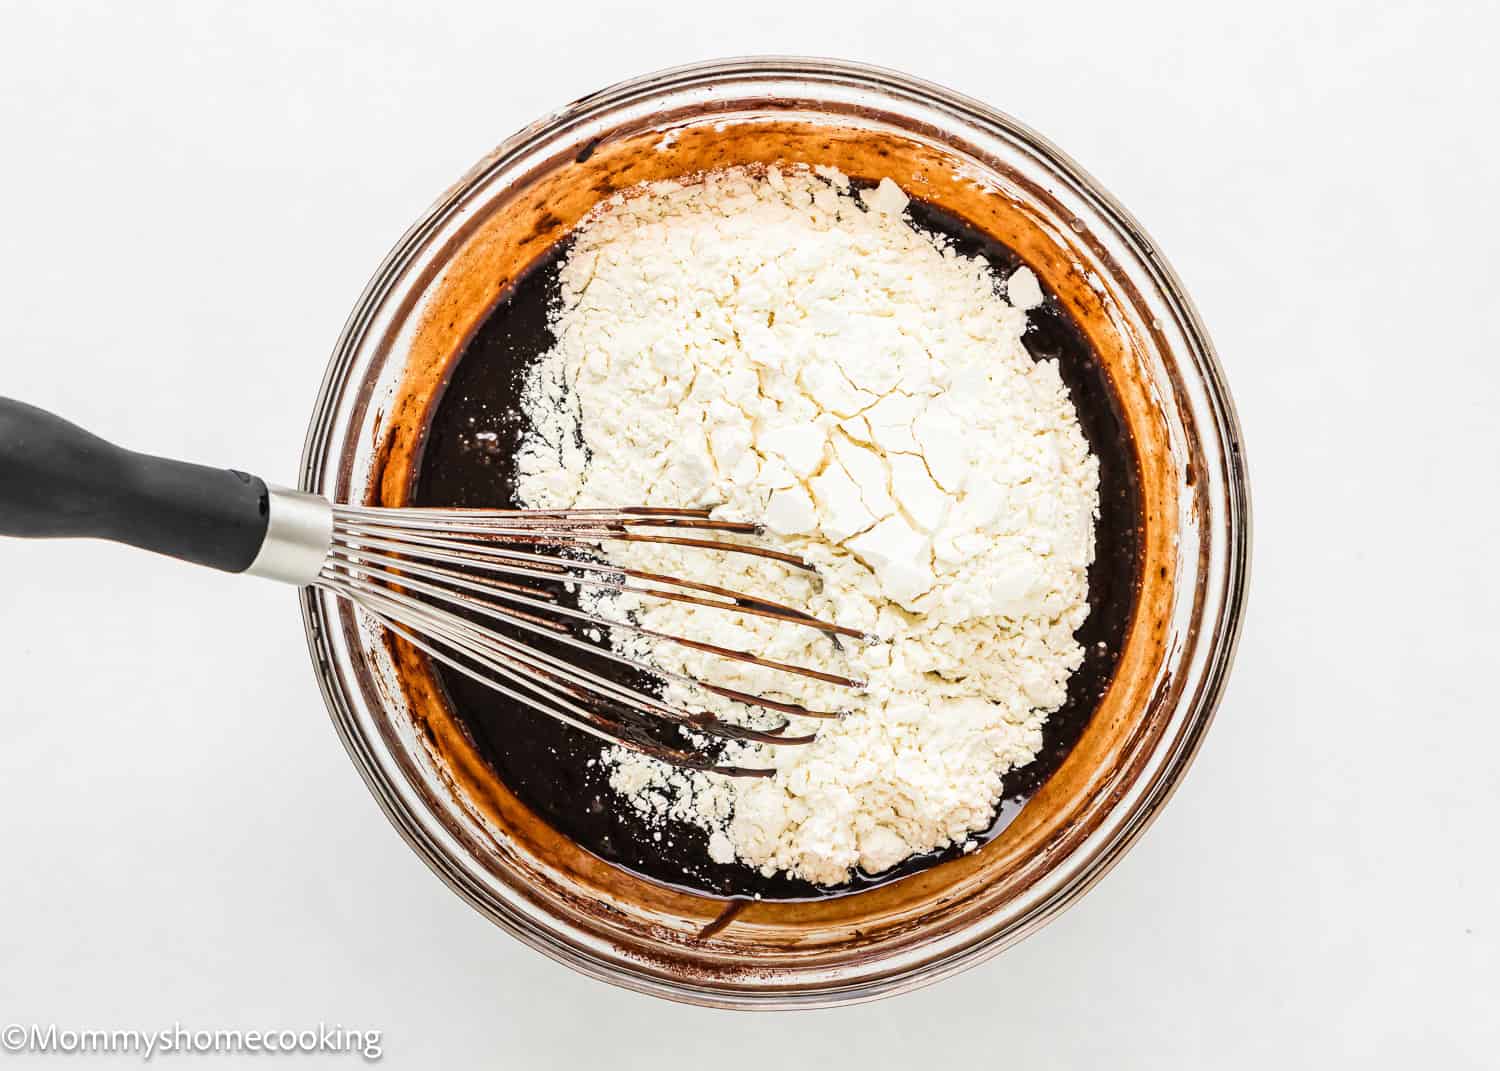
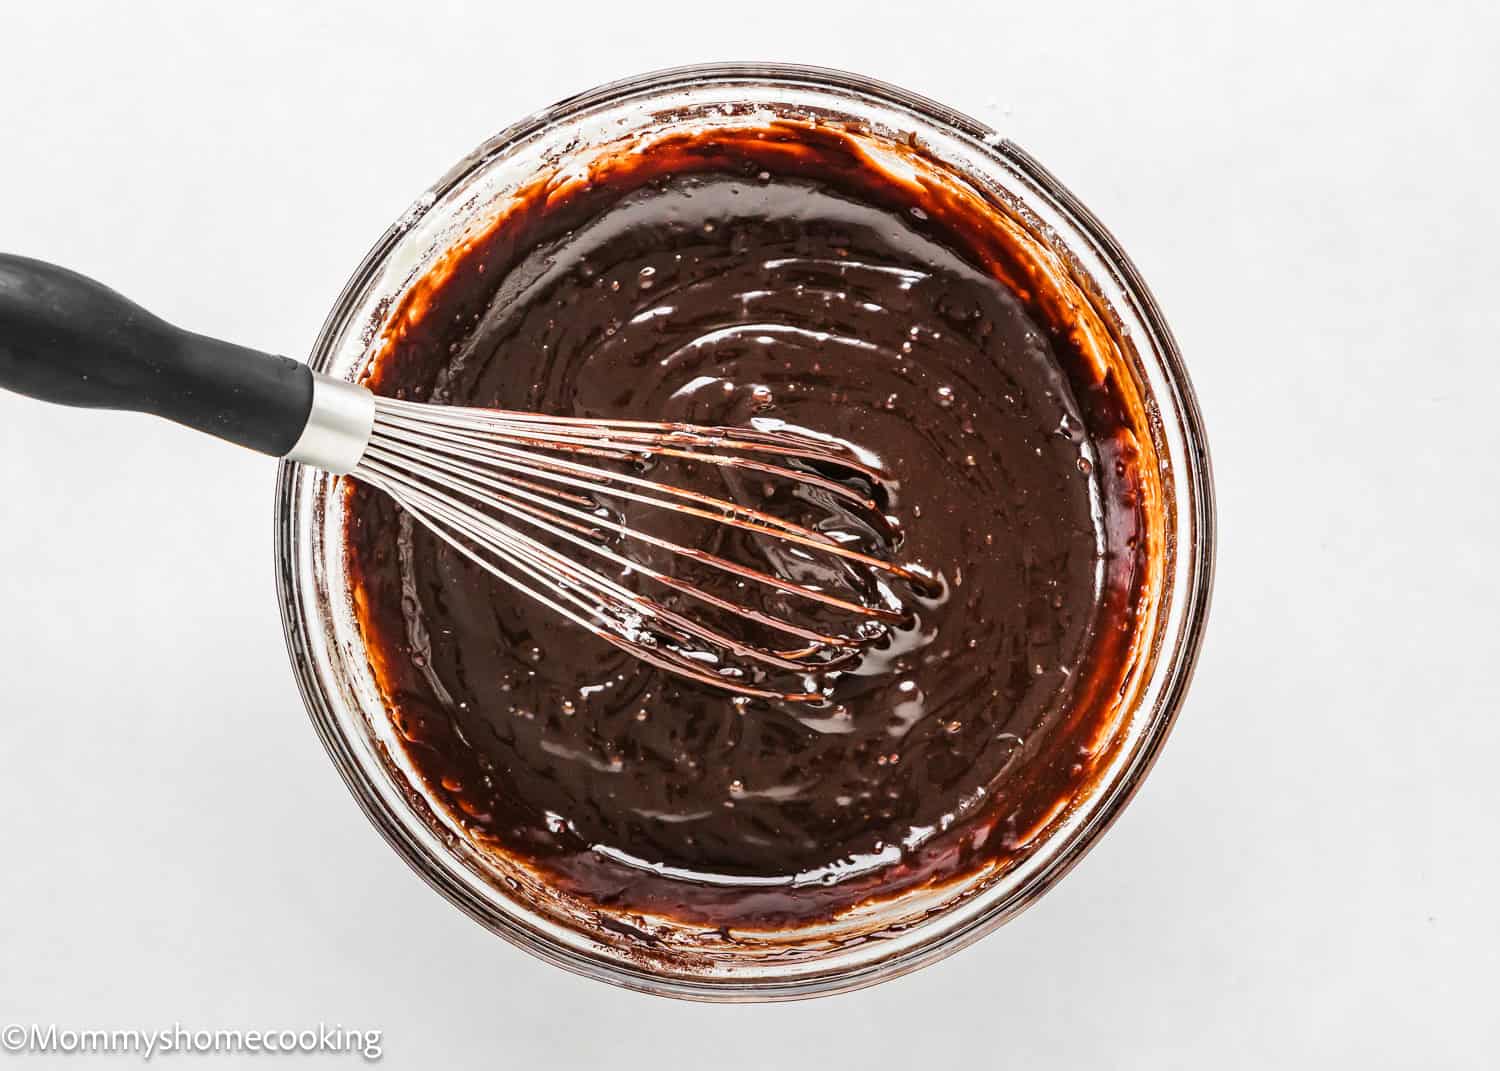
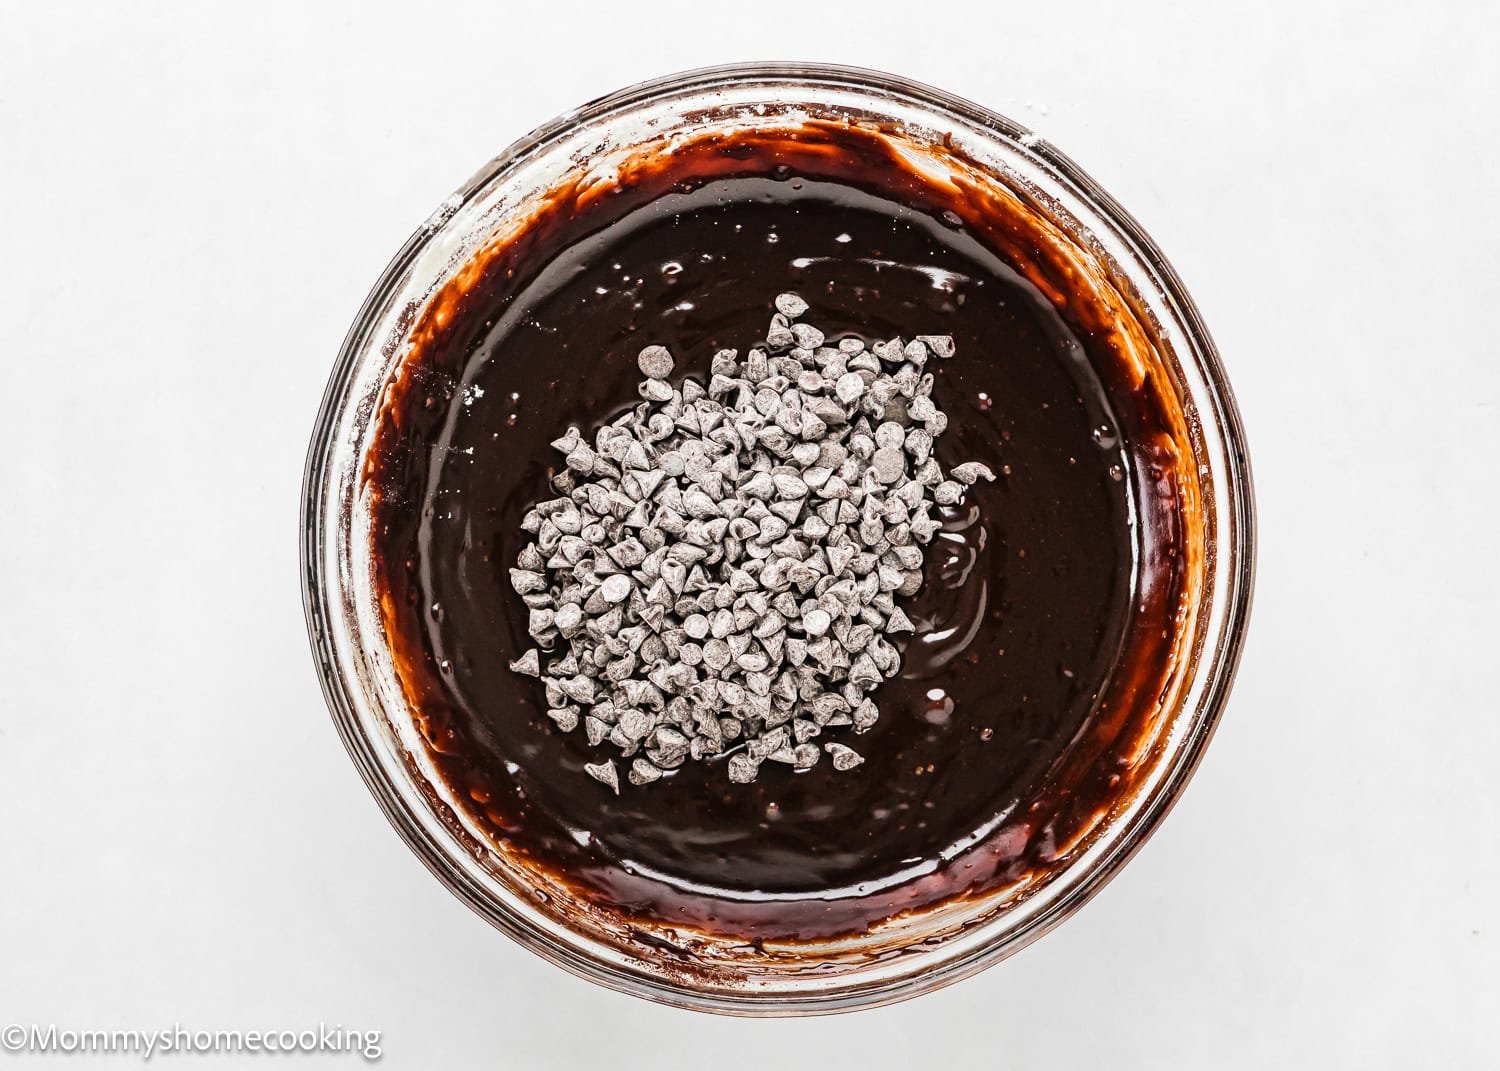
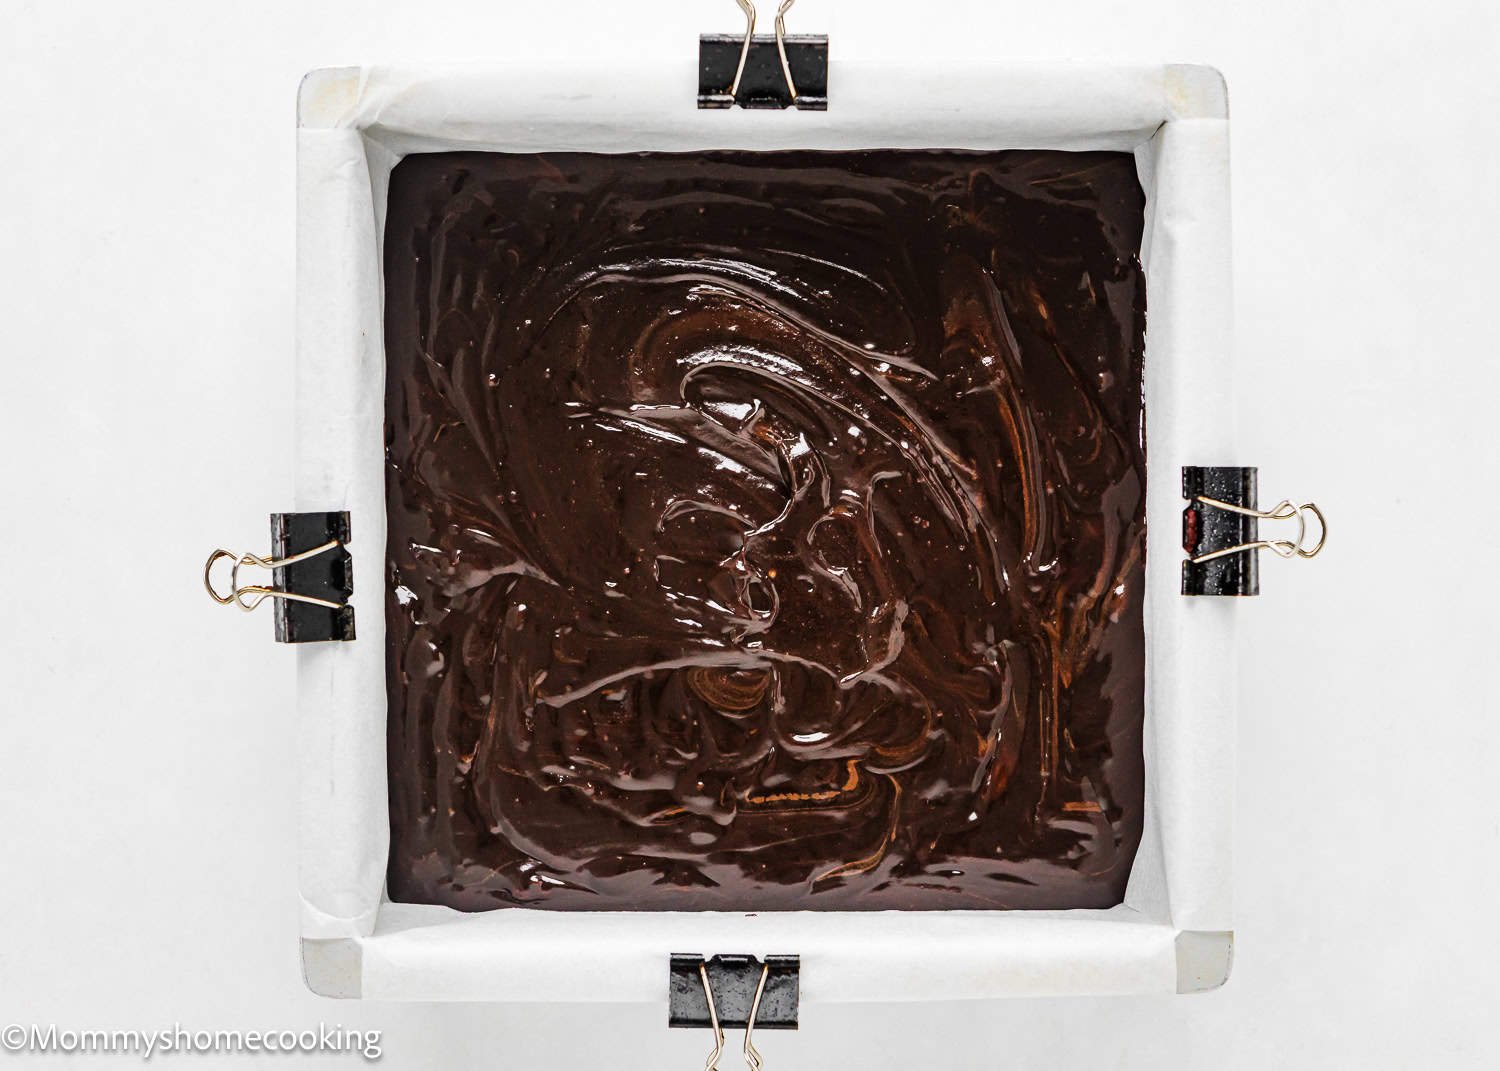
In a bowl, whisk together flour, cornstarch, baking powder, and salt. Set aside. Then, mix milk, vinegar, butter, sugars, and espresso powder in a microwave-safe bowl. Microwave for 2-3 minutes, then whisk for 1-2 minutes until glossy and smooth. Stir in cocoa powder and vanilla. Add the dry ingredients and mix until mostly combined. Stir in chocolate until no flour remains. Pour the batter into the pan, smoothing the top with a spatula. Tap the pan on the counter to release air pockets, poking any bubbles if needed. Set aside.
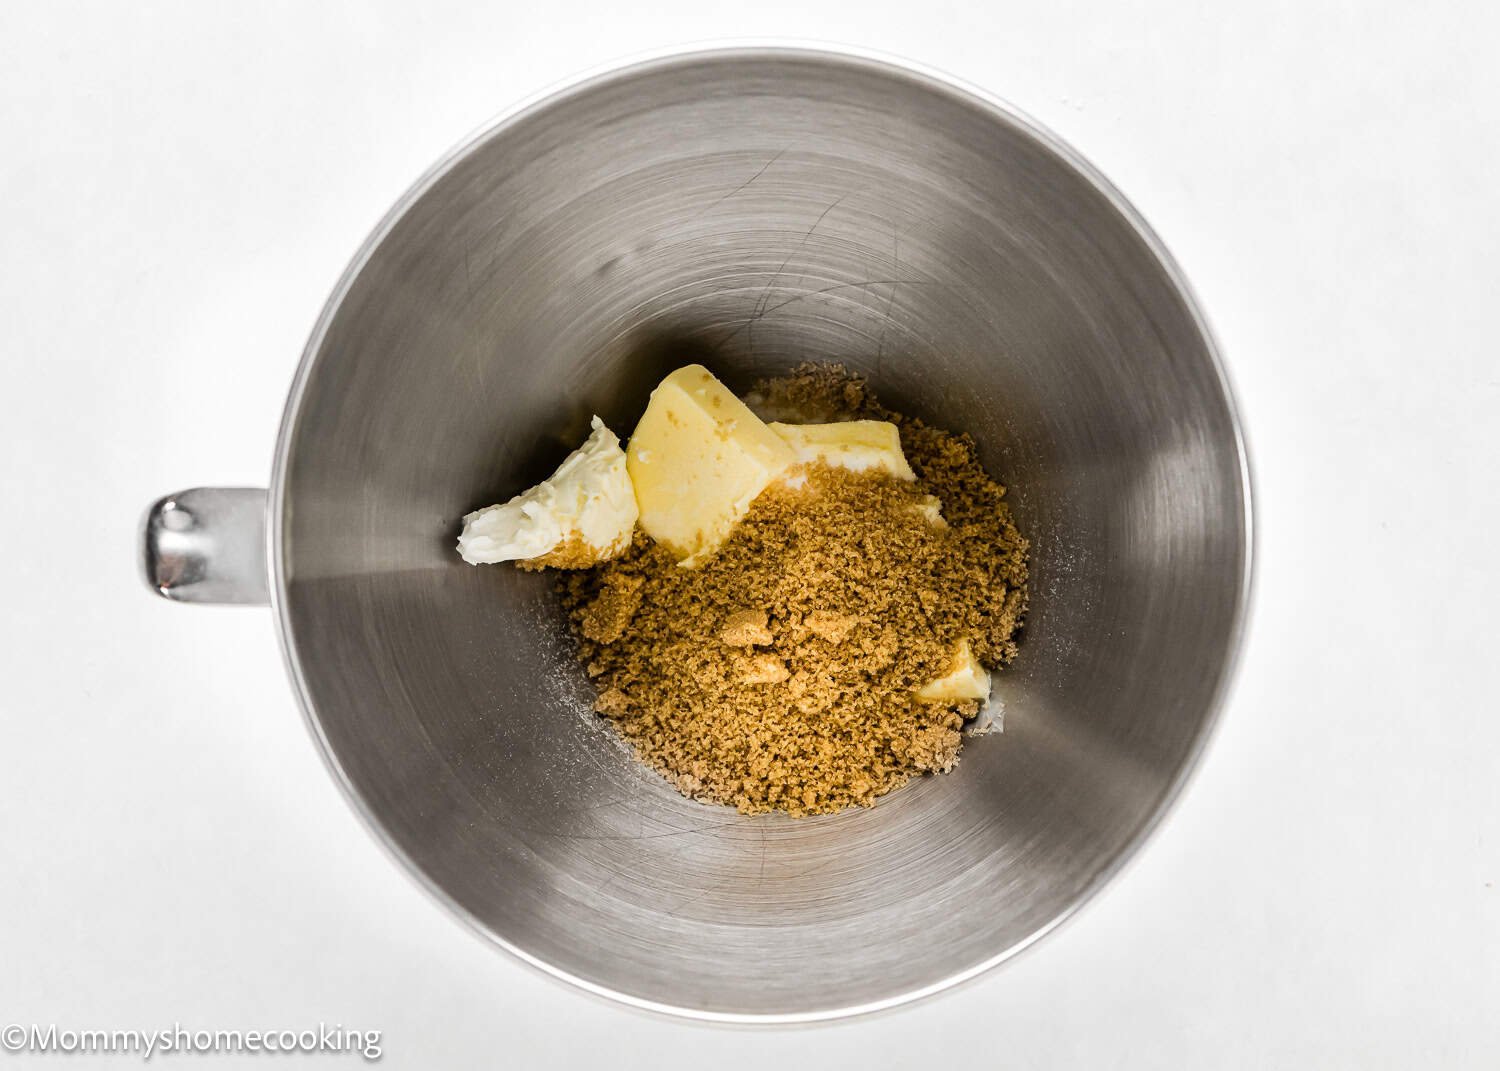
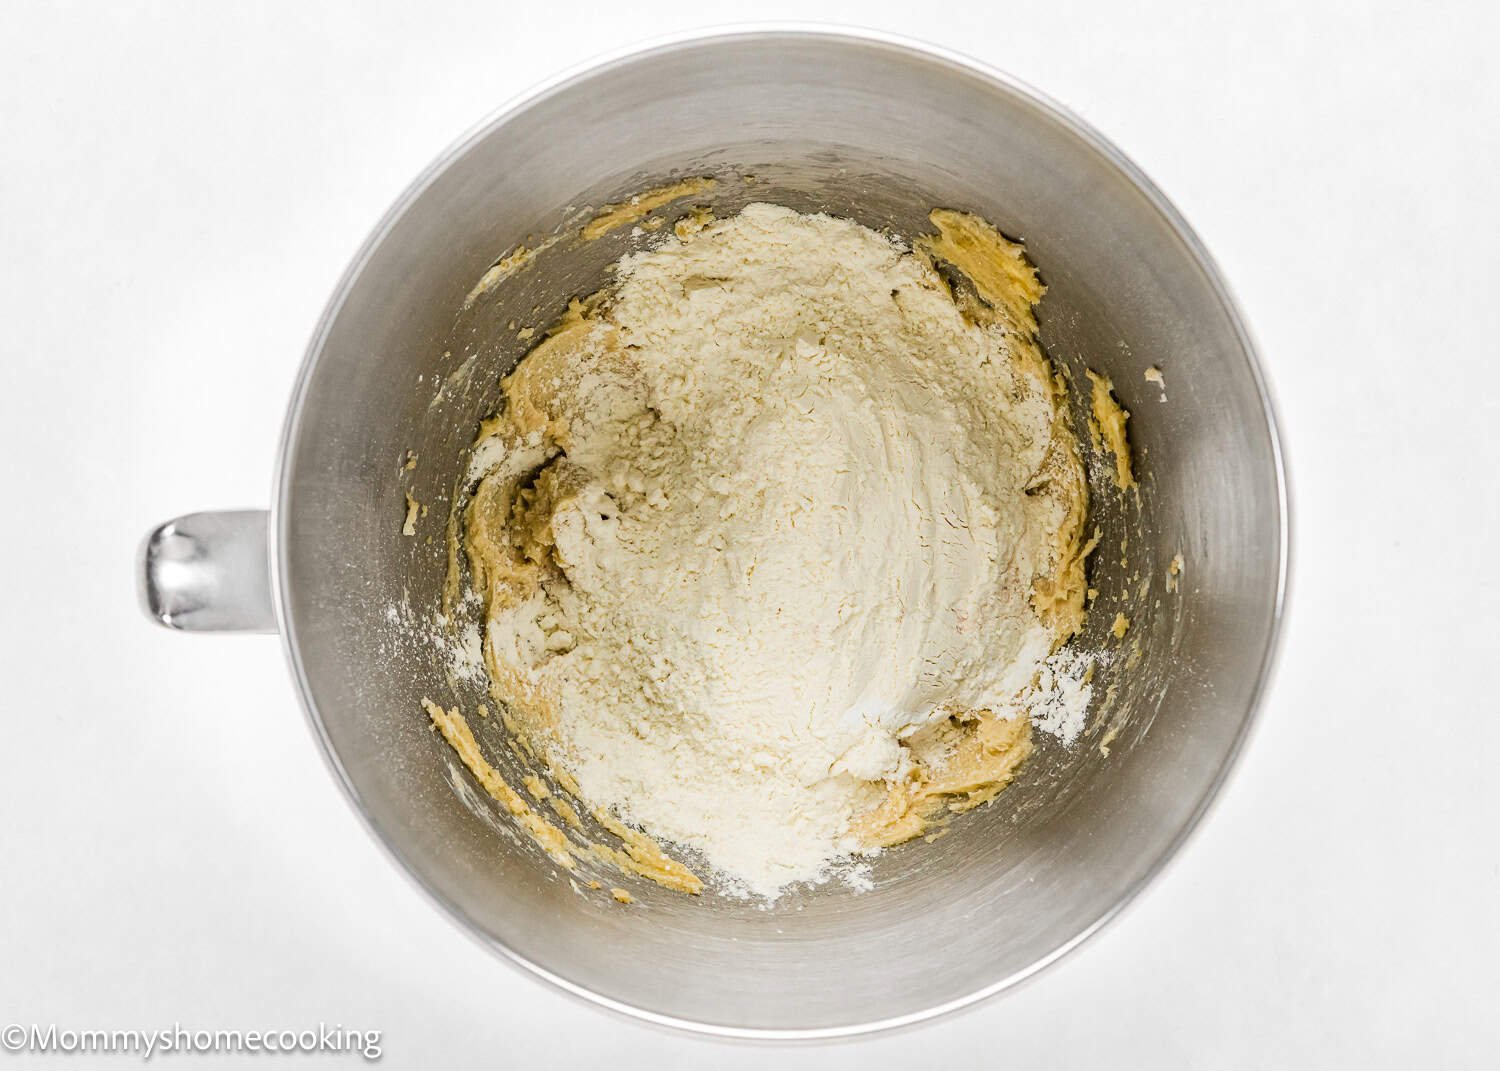
Step 2 – Make The Cookie Layer
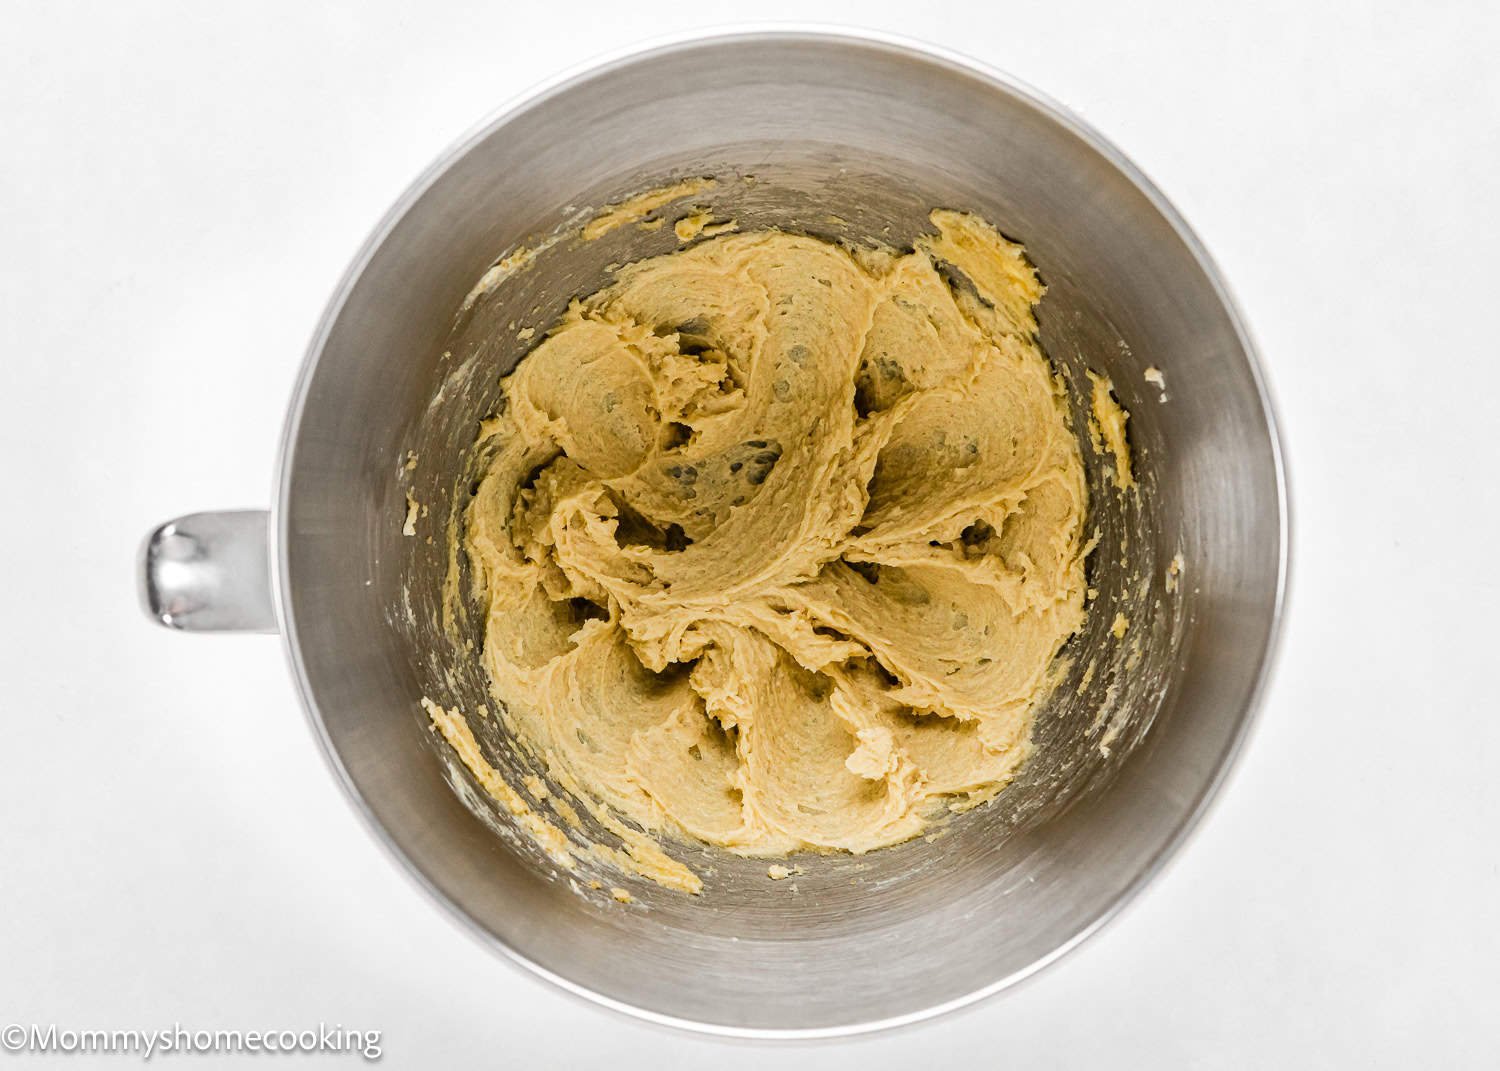
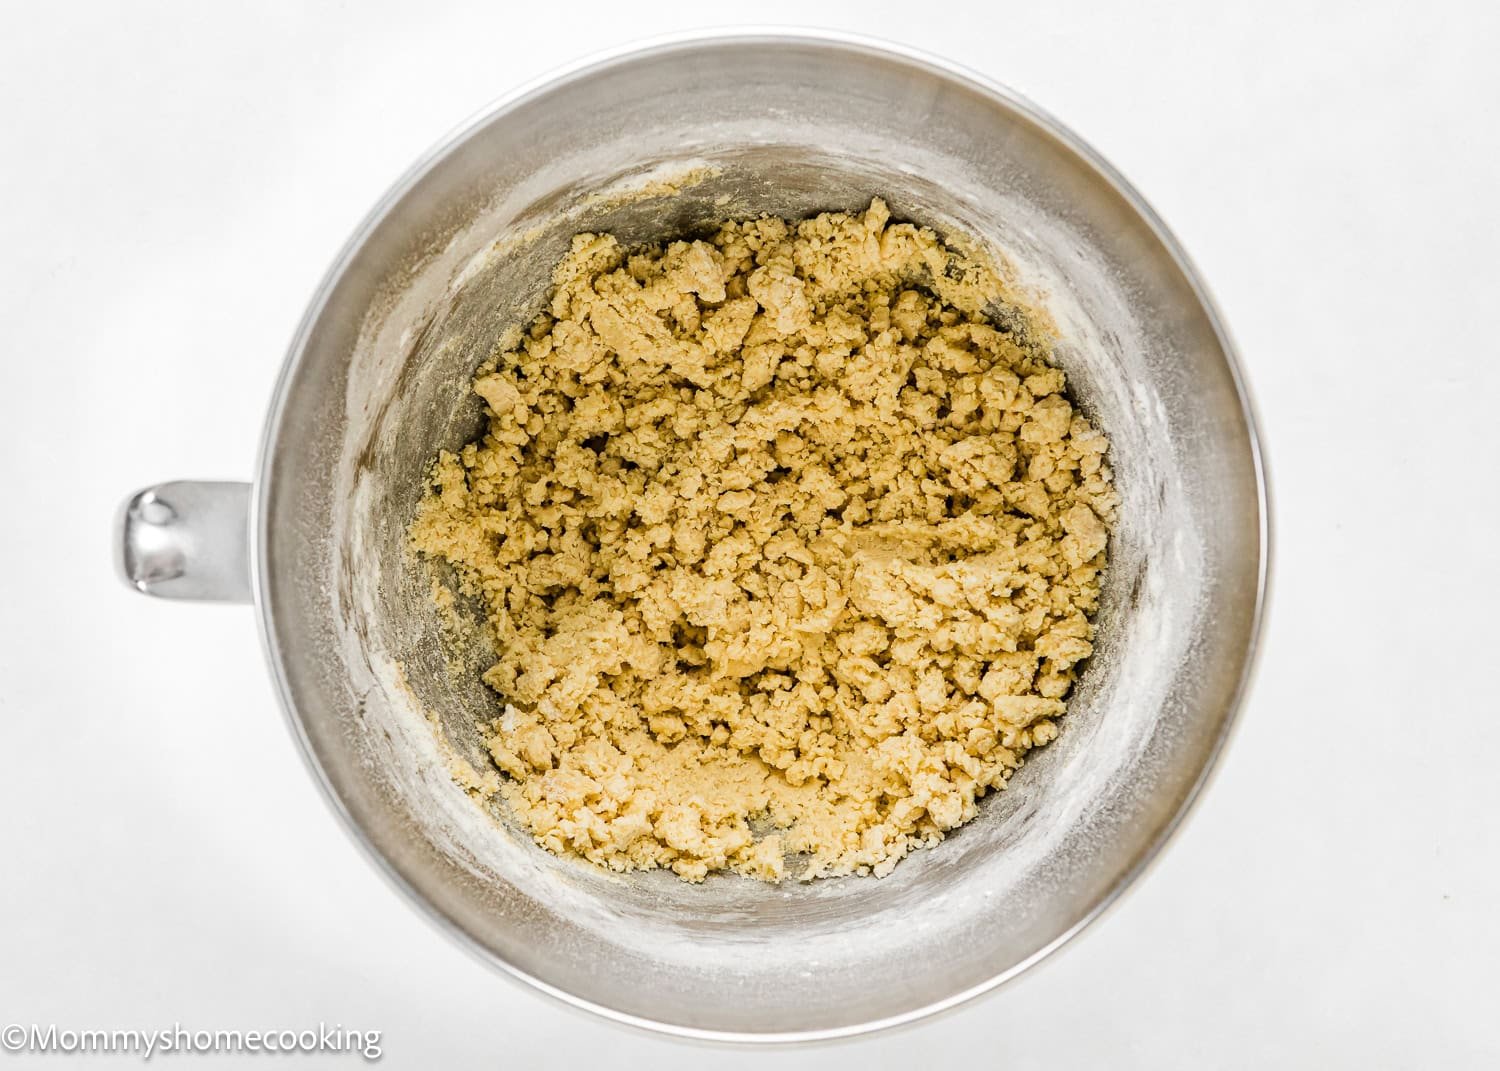
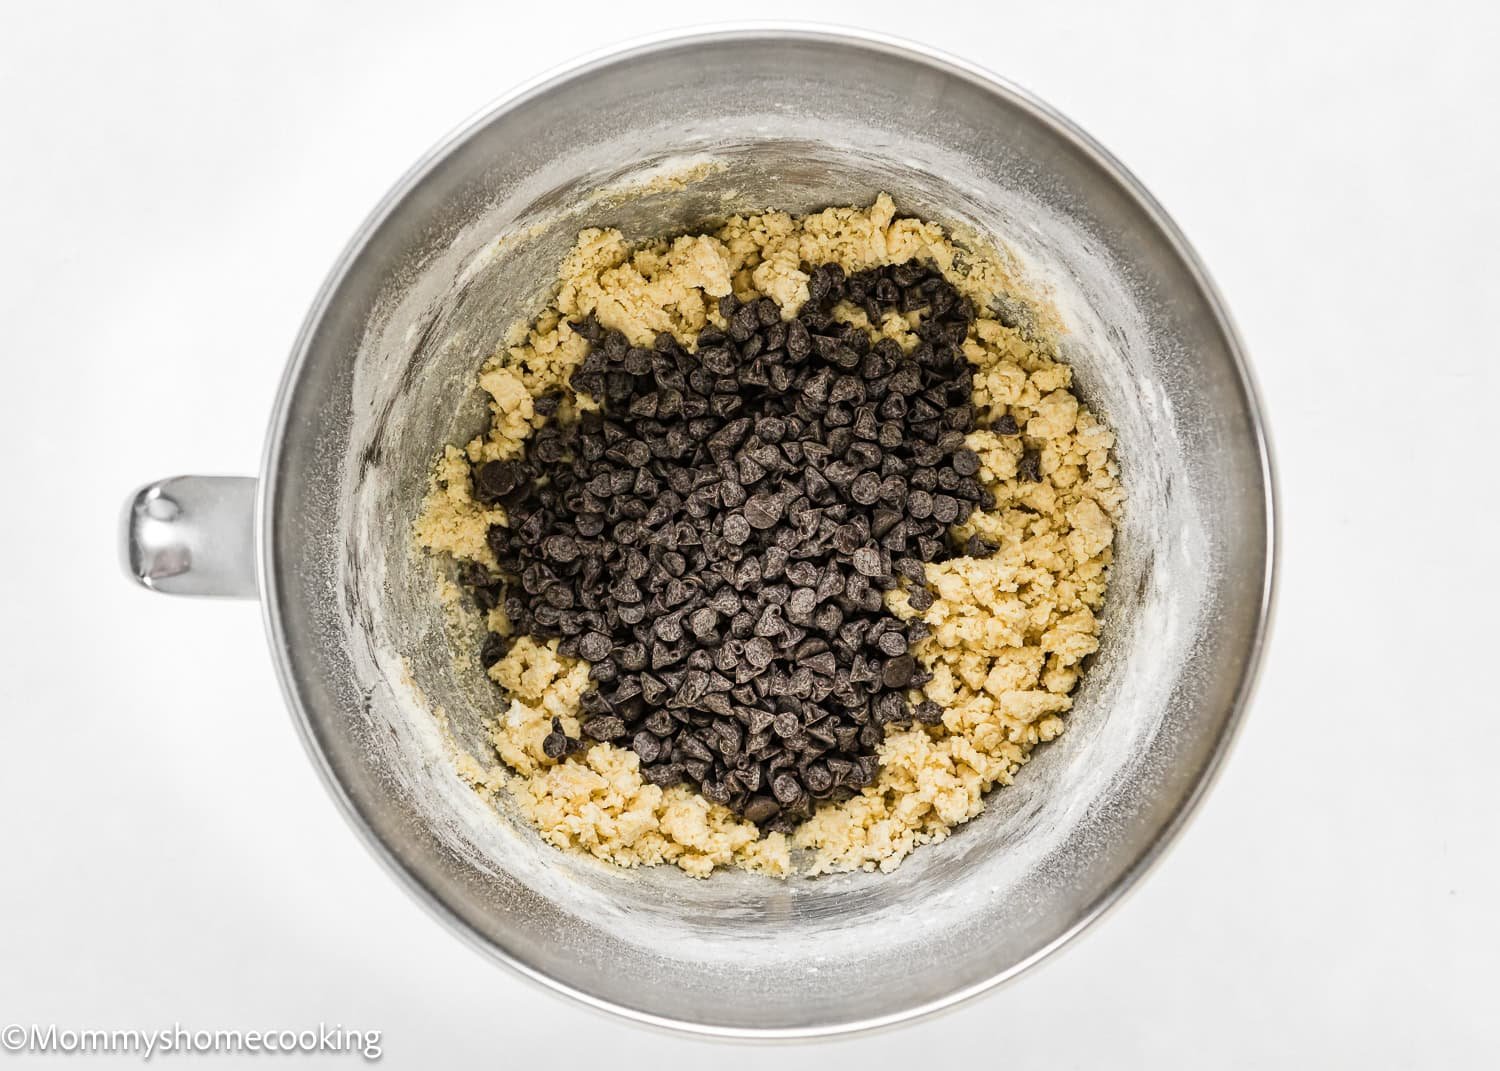
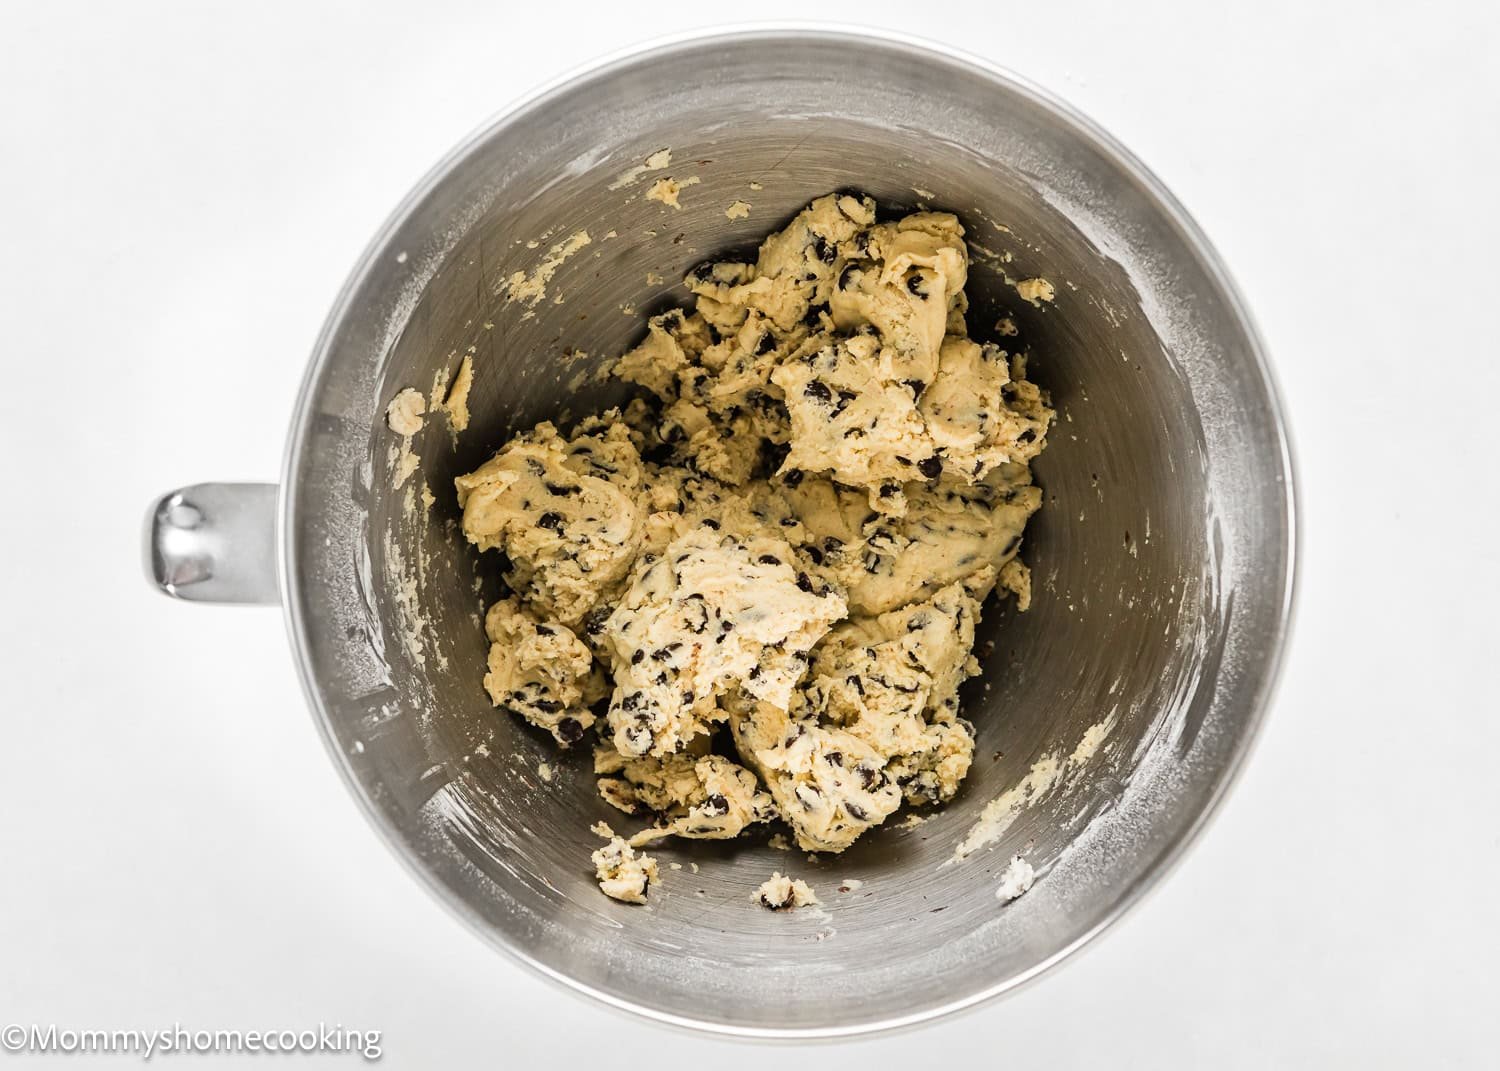
Mix flour, baking powder, baking soda, and salt in a bowl. Set aside. Cream the butter, sugars, and cream cheese on high for 3-4 minutes or until light and fluffy, scraping the bowl down as needed. Add dry ingredients, then mix until combined. Add milk and vanilla and mix to incorporate. Then, add chocolate chips and mix to distribute.
Step 3 – Assemble
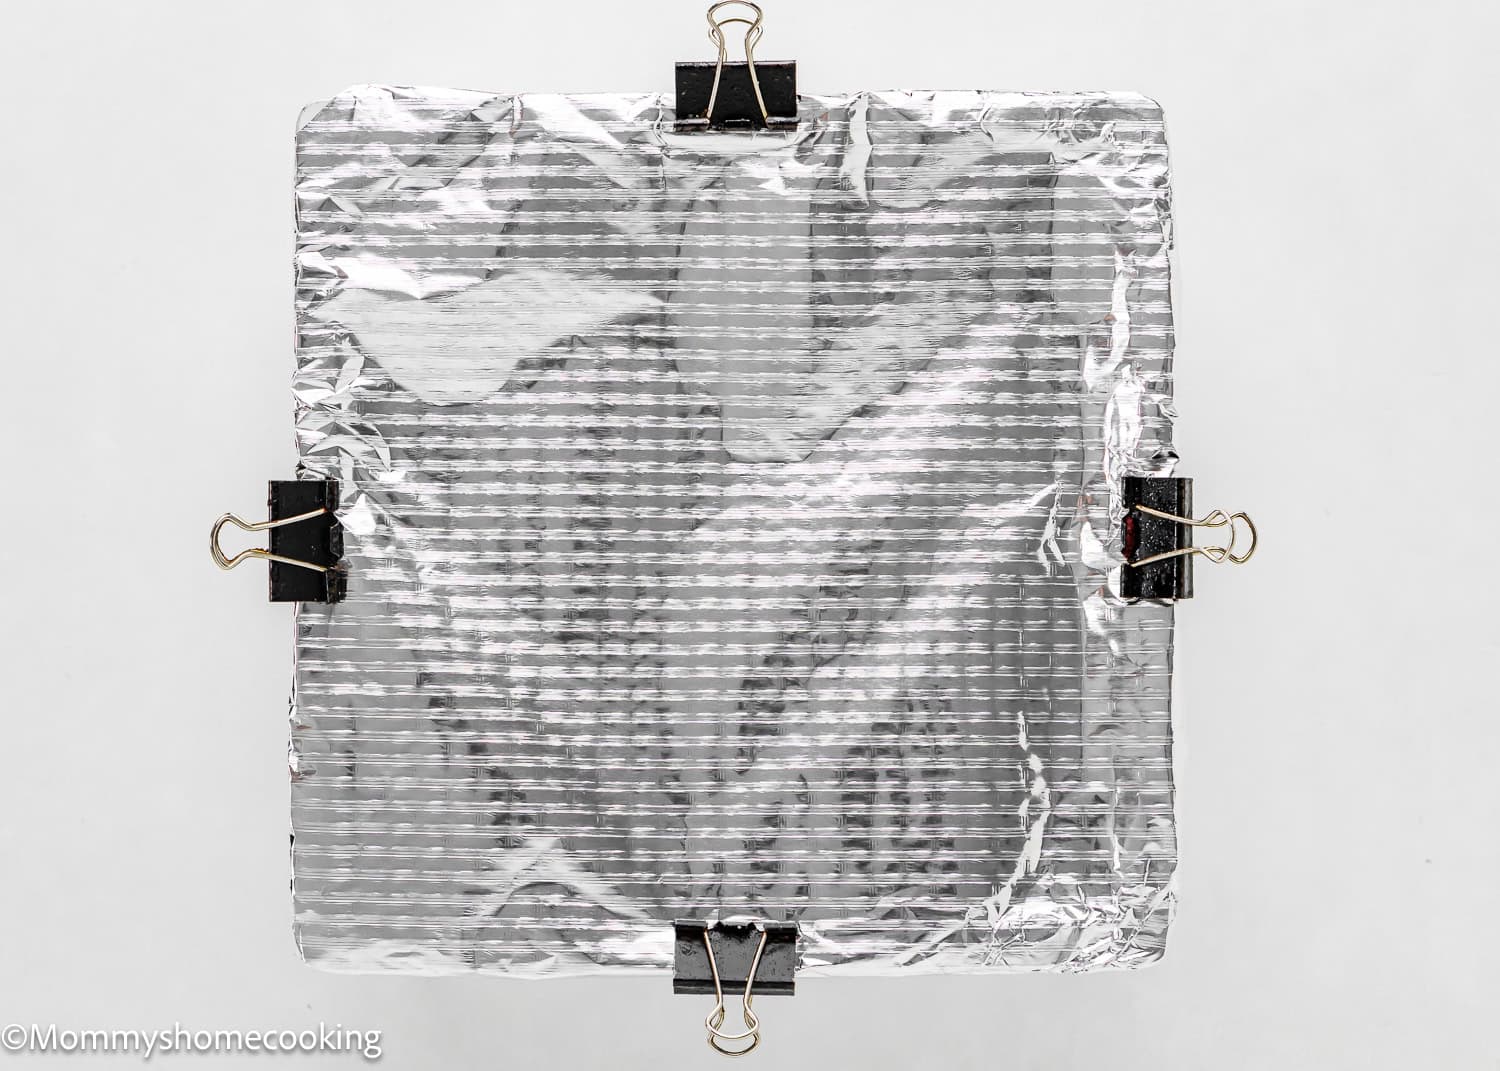
Drop spoonfuls of cookie dough onto the brownie batter. You don’t need full coverage; it will be nice to see the brownie batter peaking through after baking. Cover the pan with foil.

Step 4 – Bake
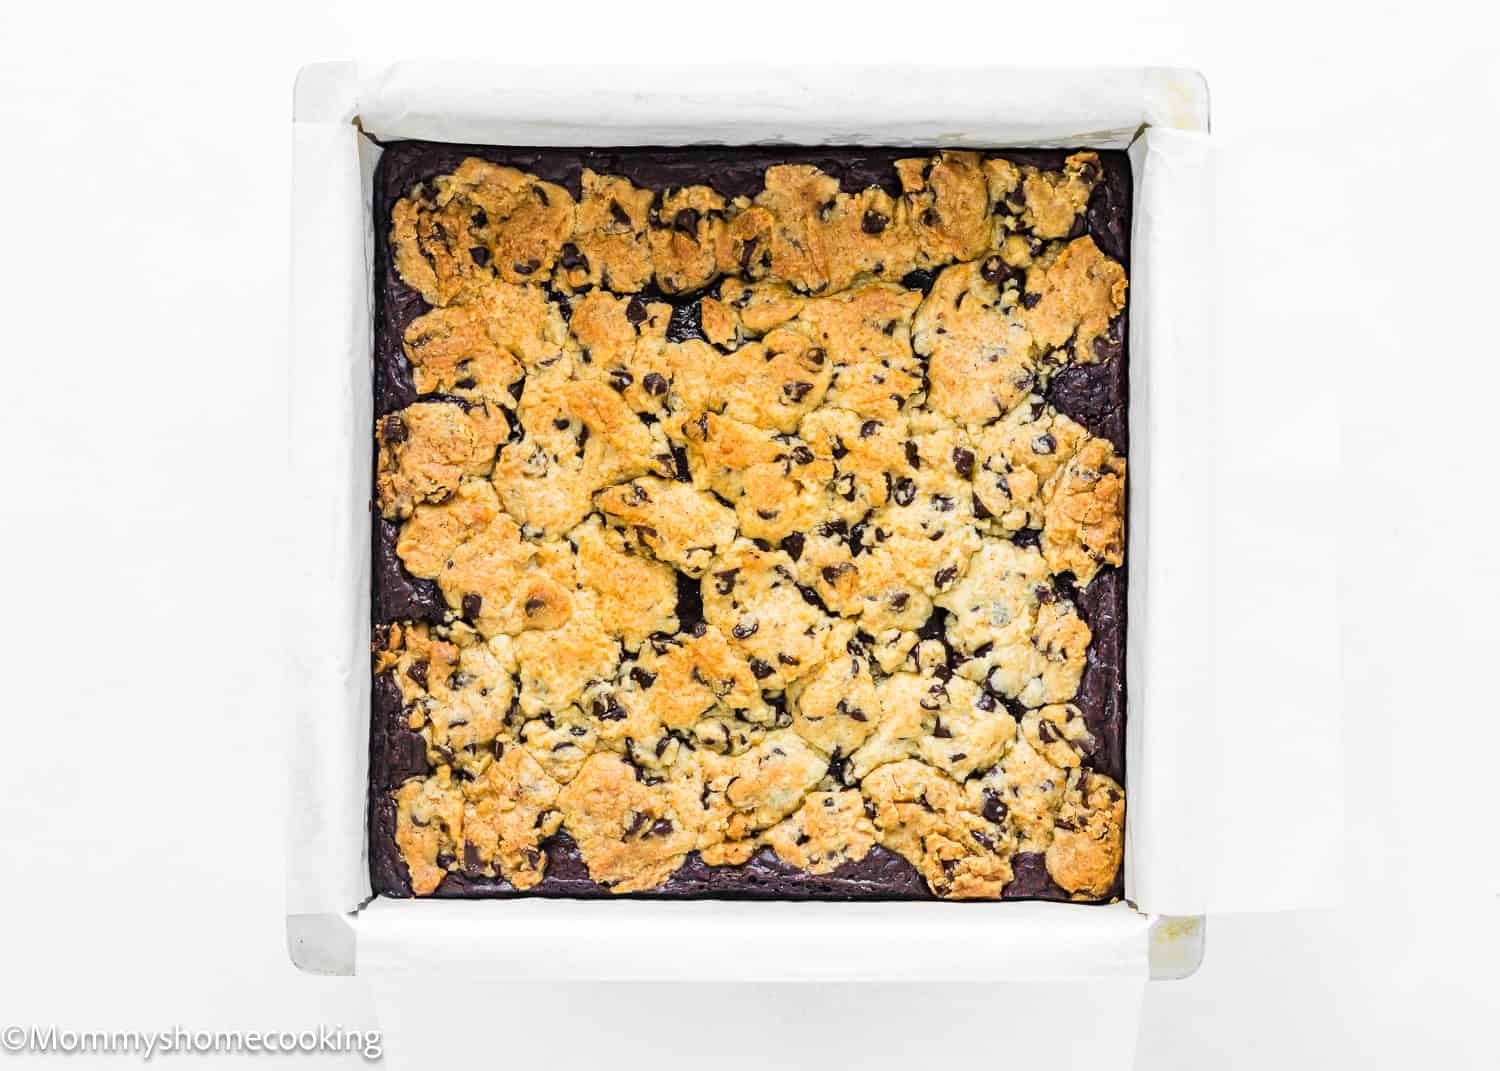
Bake for 20 minutes; uncover and bake for another 20 – 25 min. When the brownies are ready, remove them from the oven and set the pan on a wire rack until completely cooled. Allow to cool before removing from pan and cutting.
IMPORTANT: Every oven is different, so baking times always have to be taken with a grain of salt. Oven thermostats can be wildly off, and that will all affect baking time.
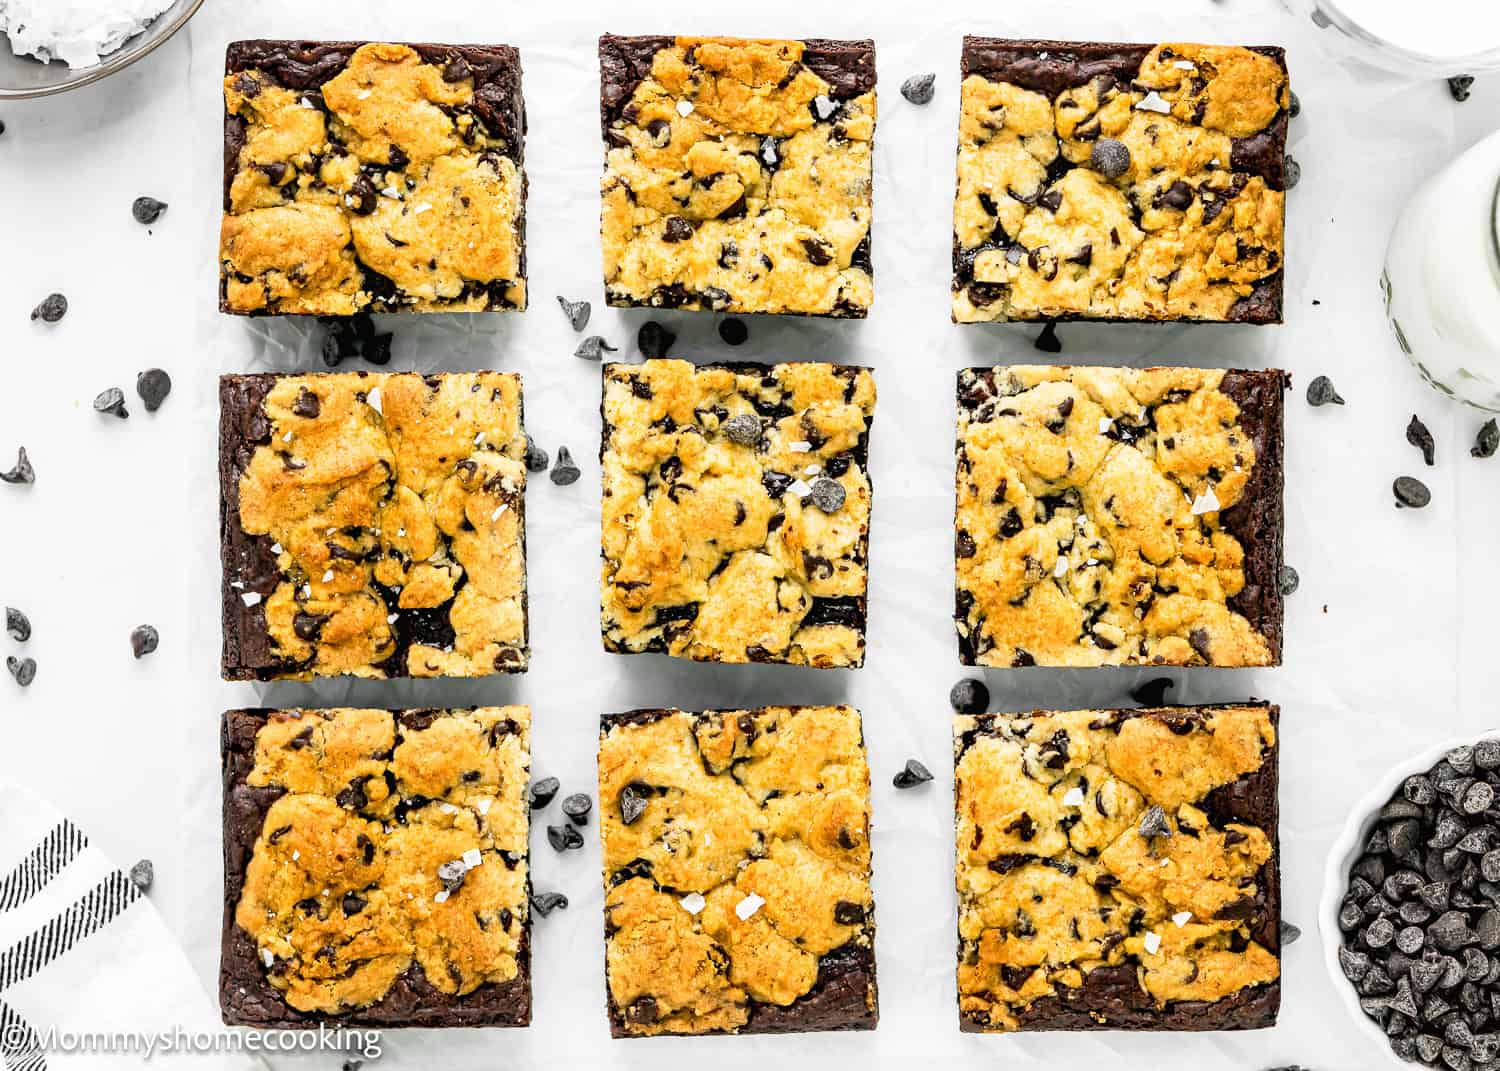
When the brownies are ready, remove them from the oven and set the pan on a wire rack until completely cooled. When completely cool, run a thin knife around the edge of the pan to make sure the block of brookies is loose, then lift from the pan using the parchment paper sling. Cut the brownies into 9 or 12 squares.
- Lining the Pan: Line the baking pan with parchment paper with overhangs. This makes it easier to lift out the bar for cutting.
- Preheat the oven. Preheat it for at least 15 -20 minutes before you start to give it plenty of time to reach the ideal recipe temperature.
- Measure the ingredients correctly. In my opinion, a kitchen scale is always the best option.
- Don’t over-mix your cookie dough or brownie batter, or you will end up with dense brookies.
- Know Your Oven. Every oven is different, so baking times must always be taken with a grain of salt. Oven thermostats can be wildly off, affecting baking time, so keep an eye on yours.
- Avoid Peeking. Don’t open the oven door until the cookies have set. Leave the oven closed until the minimum time is stated in the recipe to avoid a sudden drop in temperature affecting the cookies’ structure.
- Toothpick Test: Insert a toothpick into the center of the bar about 2 inches from the edge. It should come out with a few moist crumbs, not wet batter.
- Let the brookies cool completely before cutting them – they’ll be much easier to slice and hold their shape better.
- Chill for clean cuts! Let the brookie chill slightly in the refrigerator before cutting. Chilling it a bit helps achieve clean, sharp slices.
Variations & Additions
- Peanut Butter Brookies: Swirl peanut butter into the brownie layer for extra richness.
- Oreo Brookies: Add chopped Oreos to the cookie dough for a cookie & cream twist.
- Salted Caramel Brookies: Drizzle caramel sauce on top and sprinkle with sea salt before baking.
Storing and Freezing Instructions
Store: Cover and store leftover brookies at room temperature for up to 3 – 4 days for optimal freshness.
Freeze: Brookies freeze well for up to 3 months. Wrap cooled brookies in plastic wrap, then in foil, and then place them in an airtight freezer bag. Thaw overnight in the refrigerator, then bring to room temperature before serving. For best results, I recommend cutting the brookies into individual portions and then wrapping and freezing them.
Reheating (optional): When you’re ready to enjoy your stored brookies, you can bring them back to room temperature or warm them slightly in the microwave for 10 – 15 seconds.
Frequently Asked Questions
Yes! They taste even better the next day as the flavors meld together.
No, but it enhances the chocolate flavor without making it taste like coffee.
Absolutely! Just use a 9×13-inch pan and adjust the baking time slightly.
Overbaking is the most common cause. Make sure to check for doneness with a toothpick!
More Bar Recipes You’ll Love!
Recipe Card
Best Eggless Brookies
![]()
![]()
These Eggless Brookies are the best of both worlds in every single bite—decadent, fudgy brownies swirled together with chewy, chocolatey cookies. What’s even better is how simple they are to make. You don’t need anything fancy, just some basic pantry ingredients you probably already have on hand. Trust me, once you take a bite, you’ll be hooked. You have to try it!
Don’t forget to check out the step-by-step photos above in the post—they’ll guide you through the process and make everything super clear!
-
Preheat the oven to 350° F (180° C). Line the bottom and sides of an 8-x-8-inch (20-x-20-cm) square baking pan with parchment paper, leaving enough overhang on all sides of the baking pan to allow for easy removal at the end. Lightly spray with baking spray. Set aside.
Make the Brownie Layer:
-
Combine flour, cornstarch, baking powder, and salt in a bowl. Set aside.
-
In a microwave-safe mixing bowl, combine the milk, vinegar, butter, sugars and espresso powder; mix well. Then microwave the mixture for 2 – 3 minutes. Carefully remove the bowl from the microwave and continue mixing with the whisk for 1 – 2 minutes, until glossy and all the sugar is dissolved. Add cocoa powder and vanilla; mix to combine.
-
Add the flour mixture; stir until mostly combined. Then add the chocolate and stir until no flour remains.
-
Pour the batter into the pan. Use a spatula to spread it to the edges of the pan and smooth the top. Tap the pan once or twice on the counter to settle any air pockets; you can also poke the air pockets with the tip of a knife or toothpick. Set aside.
Make the Cookie Layer:
-
Mix flour, baking powder, baking soda, and salt in a bowl. Set aside.
-
Cream the butter, sugars and cream cheese on high for 3-4 minutes or until light and fluffy, scraping the bowl down as needed.
-
Add dry ingredienst then mix until combined. Add milk and vanilla and mix to incorporate. Then, add chocolate chips and mix to distribute.
Assemble and Bake:
-
Drop spoonfuls of cookie dough onto the brownie batter. You don’t need full coverage, it will be nice to see the brownie batter peaking through after baking. Cover the pan with foil.
-
Bake for 20 minutes; uncover and bake for another 20 – 25 min. When the brownies are ready, remove them from the oven and set the pan on a wire rack until completely cooled. Allow to cool before removing from pan and cutting.IMPORTANT: Every oven is different, so baking times always have to be taken with a grain of salt. Oven thermostats can be wildly off, and that will all affect baking time.
-
When the brownies are ready, remove them from the oven and set the pan on a wire rack until completely cooled.
-
When completely cool, run a thin knife around the edge of the pan to make sure the block of brookies is loose, then lift from the pan using the parchment paper sling. Cut the brownies into 9 or 12 squares.
Store: Cover and store leftover brookies at room temperature for up to 3 – 4 days for optimal freshness.
Freeze: Brookies freeze well for up to 3 months. Wrap cooled brookies in plastic wrap, then in foil, and then place them in an airtight freezer bag. Thaw overnight in the refrigerator, then bring to room temperature before serving. For best results, I recommend cutting the brookies into individual portions and then wrapping and freezing them.
Reheating (optional): When you’re ready to enjoy your stored brookies, you can bring them back to room temperature or warm them slightly in the microwave for 10 – 15 seconds.
Food Allergy Swaps:
- Dairy-Free: Butter: To make this recipe dairy-free, you can easily swap out the dairy ingredients for non-dairy alternatives. Instead of milk, you can use non-dairy milk like almond, soy, or oat milk. Substitute butter with dairy-free butter substitutes. Miyoko’s Creamery Organic Vegan Butter and Earth Balance Vegan Buttery Sticks are my favorite butter substitutes for baking. To substitute cream cheese, I like to use Violife Just Like Cream Cheese Original. Use plant-based butter and dairy-free chocolate chips, here you can find the brands I mostly like and use.
- Gluten-Free: Use a gluten-free, all-purpose flour blend. Look for a gluten-free flour blend specifically formulated for baking, as it will have the right combination of flours and starches to mimic the texture of wheat flour. My favorite is Better Batter Original Blend. I also like Doves Farm Freee Gluten-Free All-Purpose Flour, but this blend does not contain xanthan gum, so you need to add 1/4 teaspoon of xanthan gum per cup (140 g) of gluten-free flour blend.
- Nut-Free: These are naturally nut-free, but always check your chocolate chips if allergies are a concern.
Potential Recipe Challenges & Pro Tips:
- Overbaking: Since the brownie layer is fudgy and the cookie layer is chewy, it can be tricky to find the perfect bake time. Pro Tip: After removing the foil, start checking at the 15-minute mark—when the edges are set, and a toothpick comes out with a few moist crumbs, they’re ready.
Recipe Tips:
- Lining the Pan: Line the baking pan with parchment paper with overhangs. This makes it easier to lift out the bar for cutting.
- Preheat the oven. Preheat it for at least 15 -20 minutes before you start to give it plenty of time to reach the ideal recipe temperature.
- Measure the ingredients correctly. In my opinion, a kitchen scale is always the best option.
- Don’t over-mix your cookie dough or brownie batter, or you will end up with dense brookies.
- Know Your Oven. Every oven is different, so baking times must always be taken with a grain of salt. Oven thermostats can be wildly off, affecting baking time, so keep an eye on yours.
- Avoid Peeking. Don’t open the oven door until the cookies have set. Leave the oven closed until the minimum time is stated in the recipe to avoid a sudden drop in temperature affecting the cookies’ structure.
- Toothpick Test: Insert a toothpick into the center of the bar about 2 inches from the edge. It should come out with a few moist crumbs, not wet batter.
- Let the brookies cool completely before cutting them – they’ll be much easier to slice and hold their shape better.
- Chill for clean cuts! Let the brookie chill slightly in the refrigerator before cutting. Chilling it a bit helps achieve clean, sharp slices.
Variations & Additions:
- Peanut Butter Brookies: Swirl peanut butter into the brownie layer for extra richness.
- Oreo Brookies: Add chopped Oreos to the cookie dough for a cookie & cream twist.
- Salted Caramel Brookies: Drizzle caramel sauce on top and sprinkle with sea salt before baking.
Calories: 694kcalCarbohydrates: 101gProtein: 7gFat: 34gSaturated Fat: 21gPolyunsaturated Fat: 1gMonounsaturated Fat: 6gTrans Fat: 1gCholesterol: 57mgSodium: 535mgPotassium: 429mgFiber: 6gSugar: 65gVitamin A: 665IUCalcium: 126mgIron: 4mg
Nutrition information provided is an estimate and will vary based on cooking methods and brands of ingredients used.